Write a book using Scribus
1. What is Scribus
Scribus is an open source cross-platform desktop publishing software. It is quite different from a word processor, like e.g. LibreOffice Writer, as it is more oriented for the design and page layout rather than text composition or proofing.
2. What is needed
The following should be installed:
- Scribus (v1.4.7 used here)
- ghostscript (needed on MacOS X)
- a word processor like LibreOffice Writer
- a picture editor/drawing tool like GIMP, Krita or Inkscape
Some content will also be needed:
- Let's find some book with images on Project Gutenberg: Æsop's Fables
3. Prepare the content to publish
Using your word processor, prepare the text(s) you want to publish:
The best thing to do here is to create a separate file for each part of the book. I created the following file:
- 00_intro.odt
- 01_Fable1.odt
- 02_Fable2.odt
Using your picture editor, prepare the images.
4. Predesign
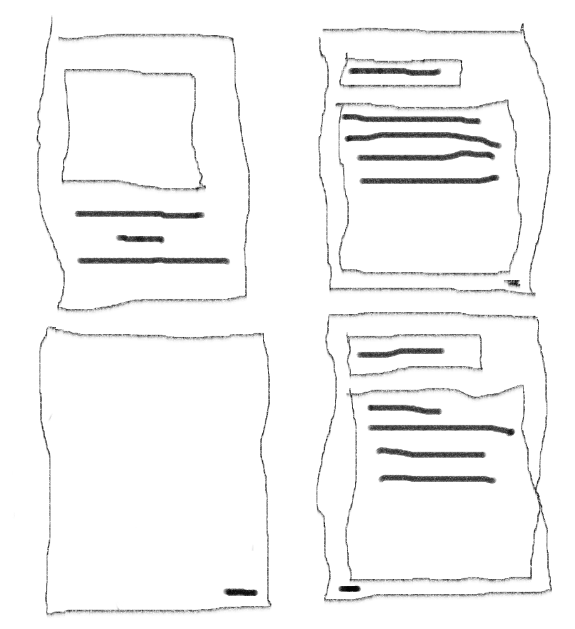
First of all, you should have an idea on how the book should look like. Here some hand-drawn predesign is the best way of doing:
5. Working with Scribus
5.1. Starting Scribus
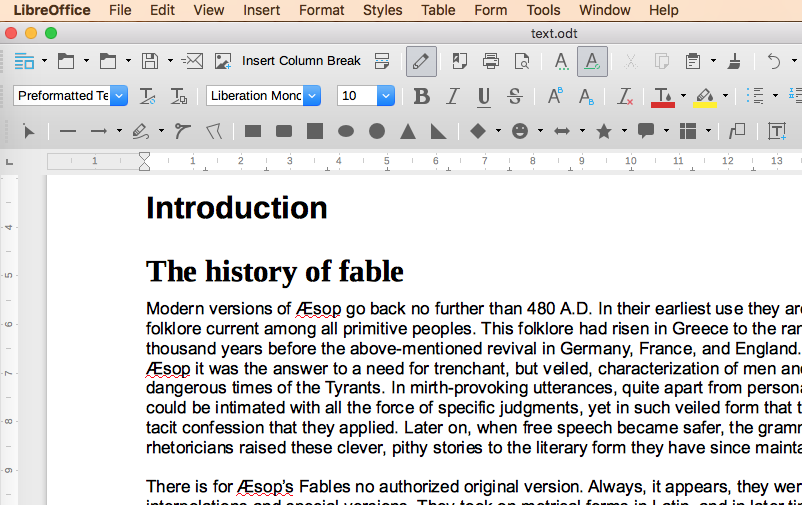
When you start Scribus, you will land on that dialog box:
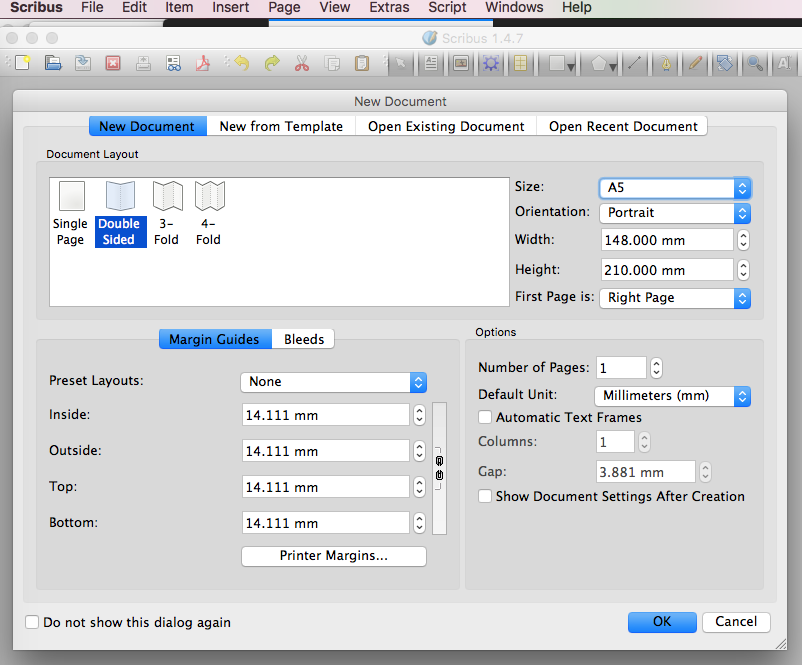
Configure it (you can also come back later) and click on OK. This will show the first blank page:
![]()
In the Preferences
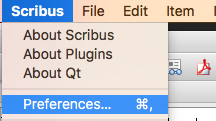
you can set the software language (under General)
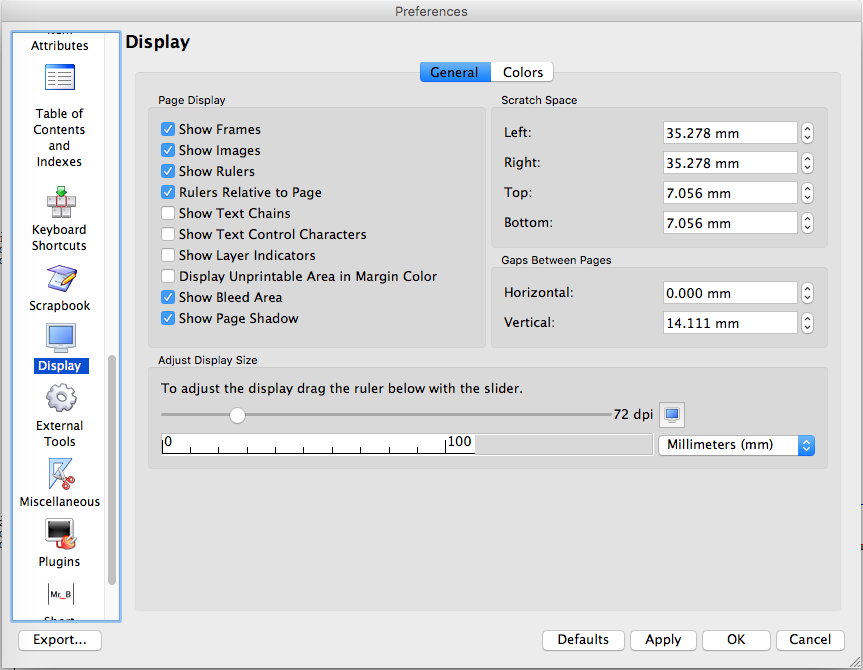
And the user interface (under Display)
5.2. Defining Colors, Styles and Master Pages
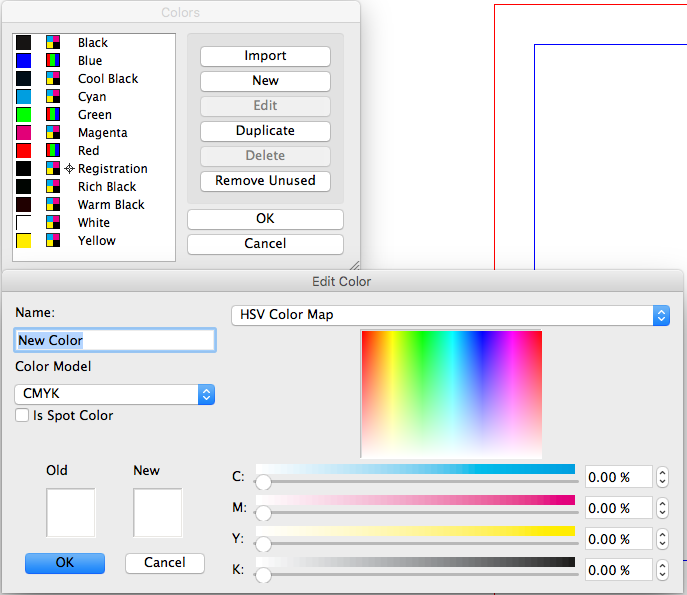
If you will need alot of colors, you might need to extend the color palettes. This is done with the menu Edit => Colors
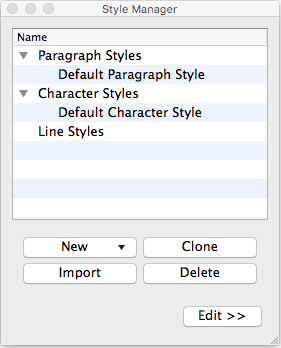
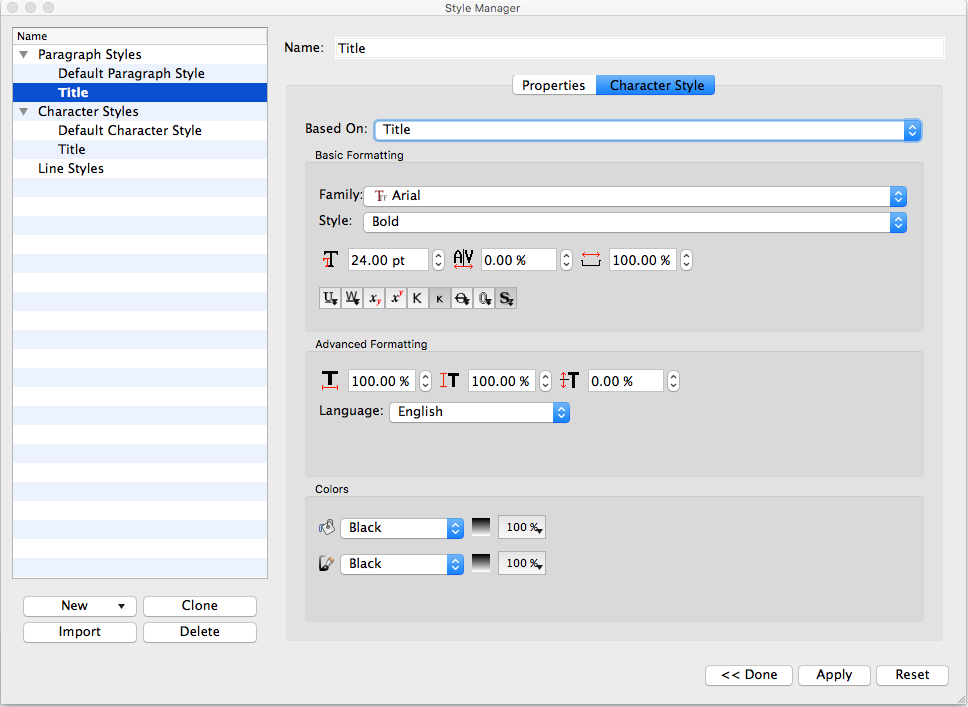
New styles should also be added in the beginning (however, you can add new styles later). Use the menu Edit => Styles
Define the master pages (kind of a page template) using the menu Edit => Master Pages
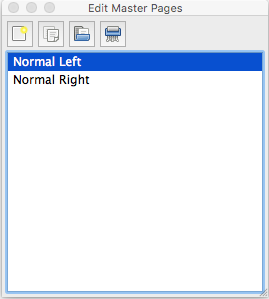
As long as the window Edit Master Pages is open, you are in the master pages design.
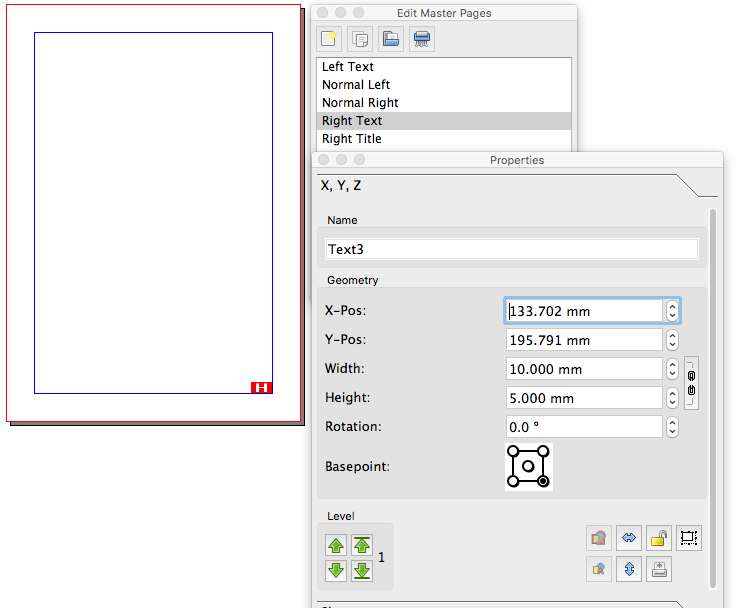
Create a new master page and add a text frame using the button ![]() .
.
Using the frame properties, a lot of settings can be fixed:
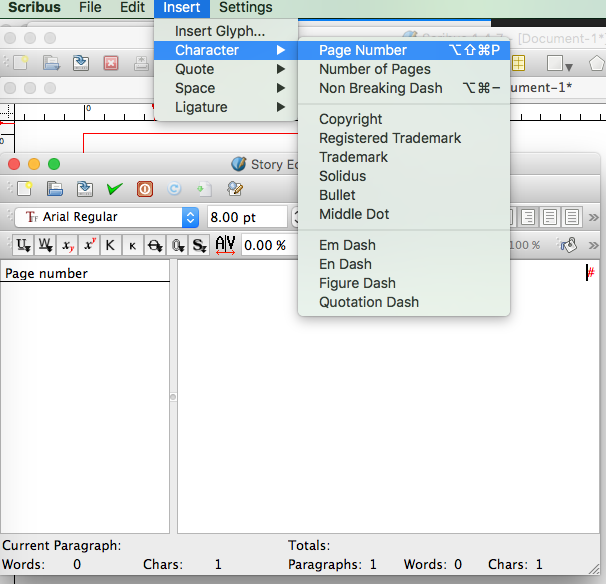
To add the page number to the text frame, use the context menu (right-click) Edit Text:
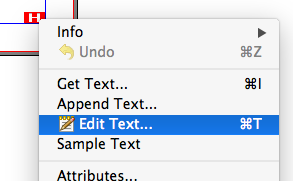
The page number is found under Insert => Character => Page Number. Assign also the page number style defined previously.
Once everything configured, close the window Edit Master Pages.
5.3. Fill the Book
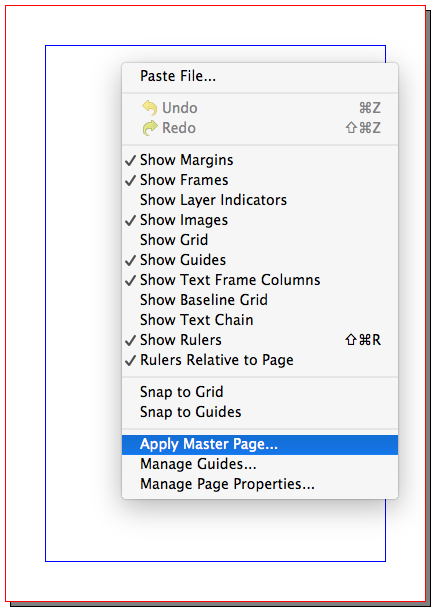
Apply the title template to the first page by using the context menu Apply Master Page:
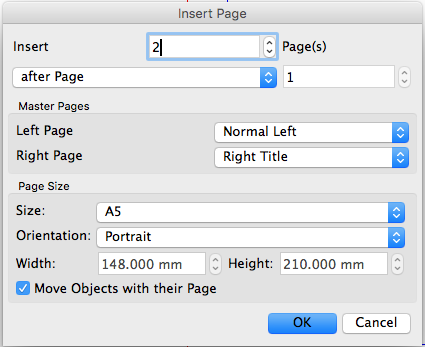
Add two new pages using the menu Page => Insert:
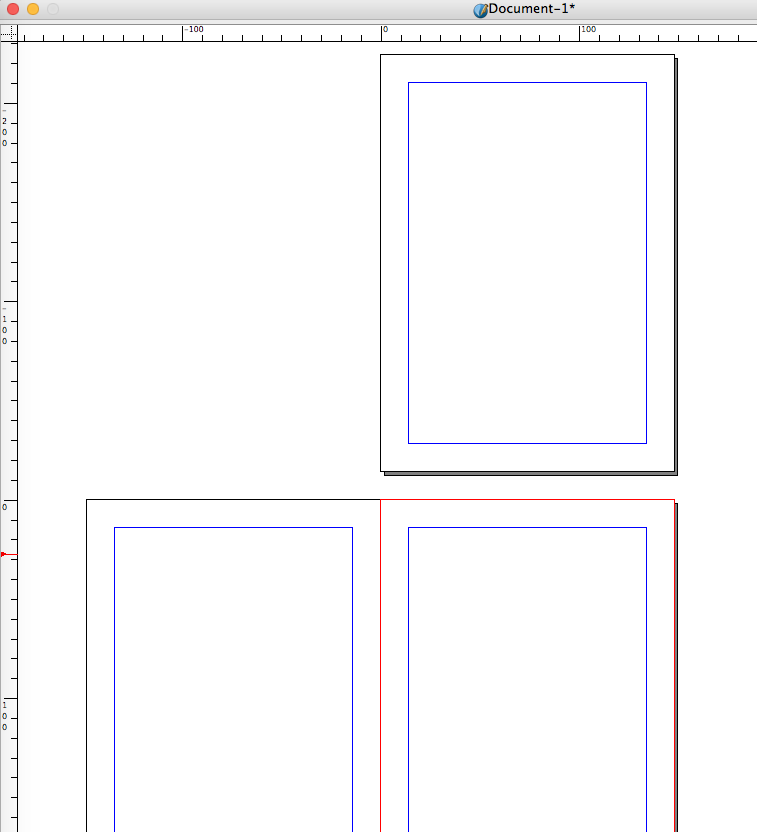
Now we have three pages in the book:
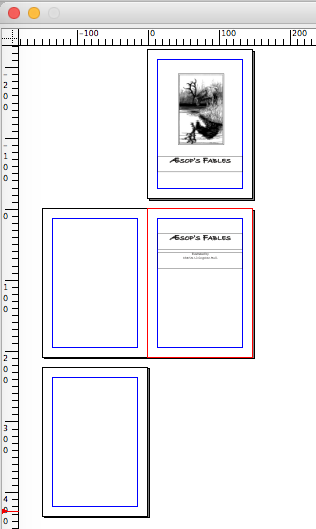
Select the first page, insert a picture frame and a text frame. Add the title picture and the title text.
Select the third page, insert the title again.
Insert one more left blank page.
Select the last page and add three new pages with page numbers.
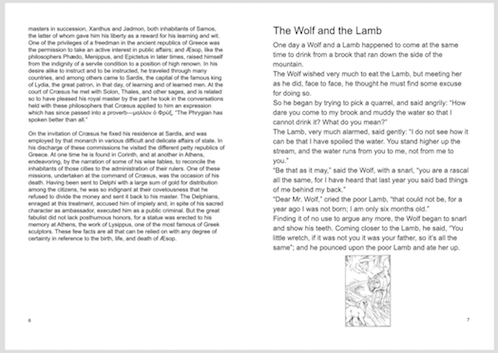
On page 5, add a new text frame. Right-click the text frame and select Get Text. This allows to choose the ODT file containing the introduction text.
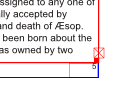
If the text frame is too small for the whole text, a red square is displayed at the right bottom:
Go to page 6 and add a new text frame.
Select the text frame on page 5, click the Link Text Frame button ![]() and select the text frame on page 6. The text will now continue on page 6.
and select the text frame on page 6. The text will now continue on page 6.
Add new pages. Add text frames and link the ODT files. Add image frames and link the PNG files.

When the book is finished, it can be exported to PDF with File => Export => Save as PDF.
Configure the export.
Check the result.


