Create a 360° video player with Unity 3D
1. Objective
Create a 360° video player using Unity 3D.
For this tutorial we use an equirectangular video layout; it would also be possible to work with a cubemap layout. We work with a 2D 360° video, but the used shader supports also 3D 360° videos.
The browser demo can be seen here.
A Mac OS X app can be downloaded from here (74mb). Use the arrow keys to navigate, Command-Q to quit.
2. Needed Tools
The following tools are needed:
- Unity: create the viewer.
- Brackets: code the C# part.
- Skybox shader: integrate the 360 video.
- a 360 video.
2.1 Unity
Unity is cross-platform game engine developed by Unity Technologies.
There’s a free personal edition. Download it from here: https://store.unity.com/products/unity-personal . Once downloaded, install it and create your login.
2.2 Brackets
Brackets is a lightweight, yet powerful, modern, open source text editor. It can be found here: http://brackets.io/
It is used to write the C# code instead of using Microsoft’s Visual Studio that comes with Unity.
2.3 Skybox Shader
Skybox shader for support of 360/180/cubemap video and static content. It can be found here: https://github.com/Unity-Technologies/SkyboxPanoramicShader. Download the Git project and unzip the files.
Its documentation is here: https://docs.google.com/document/d/1JjOQ0dXTYPFwg6eSOlIAdqyPo6QMLqh-PETwxf8ZVD8/edit
2.4 360° Video
There are several cameras with which a 360° movie can be made.
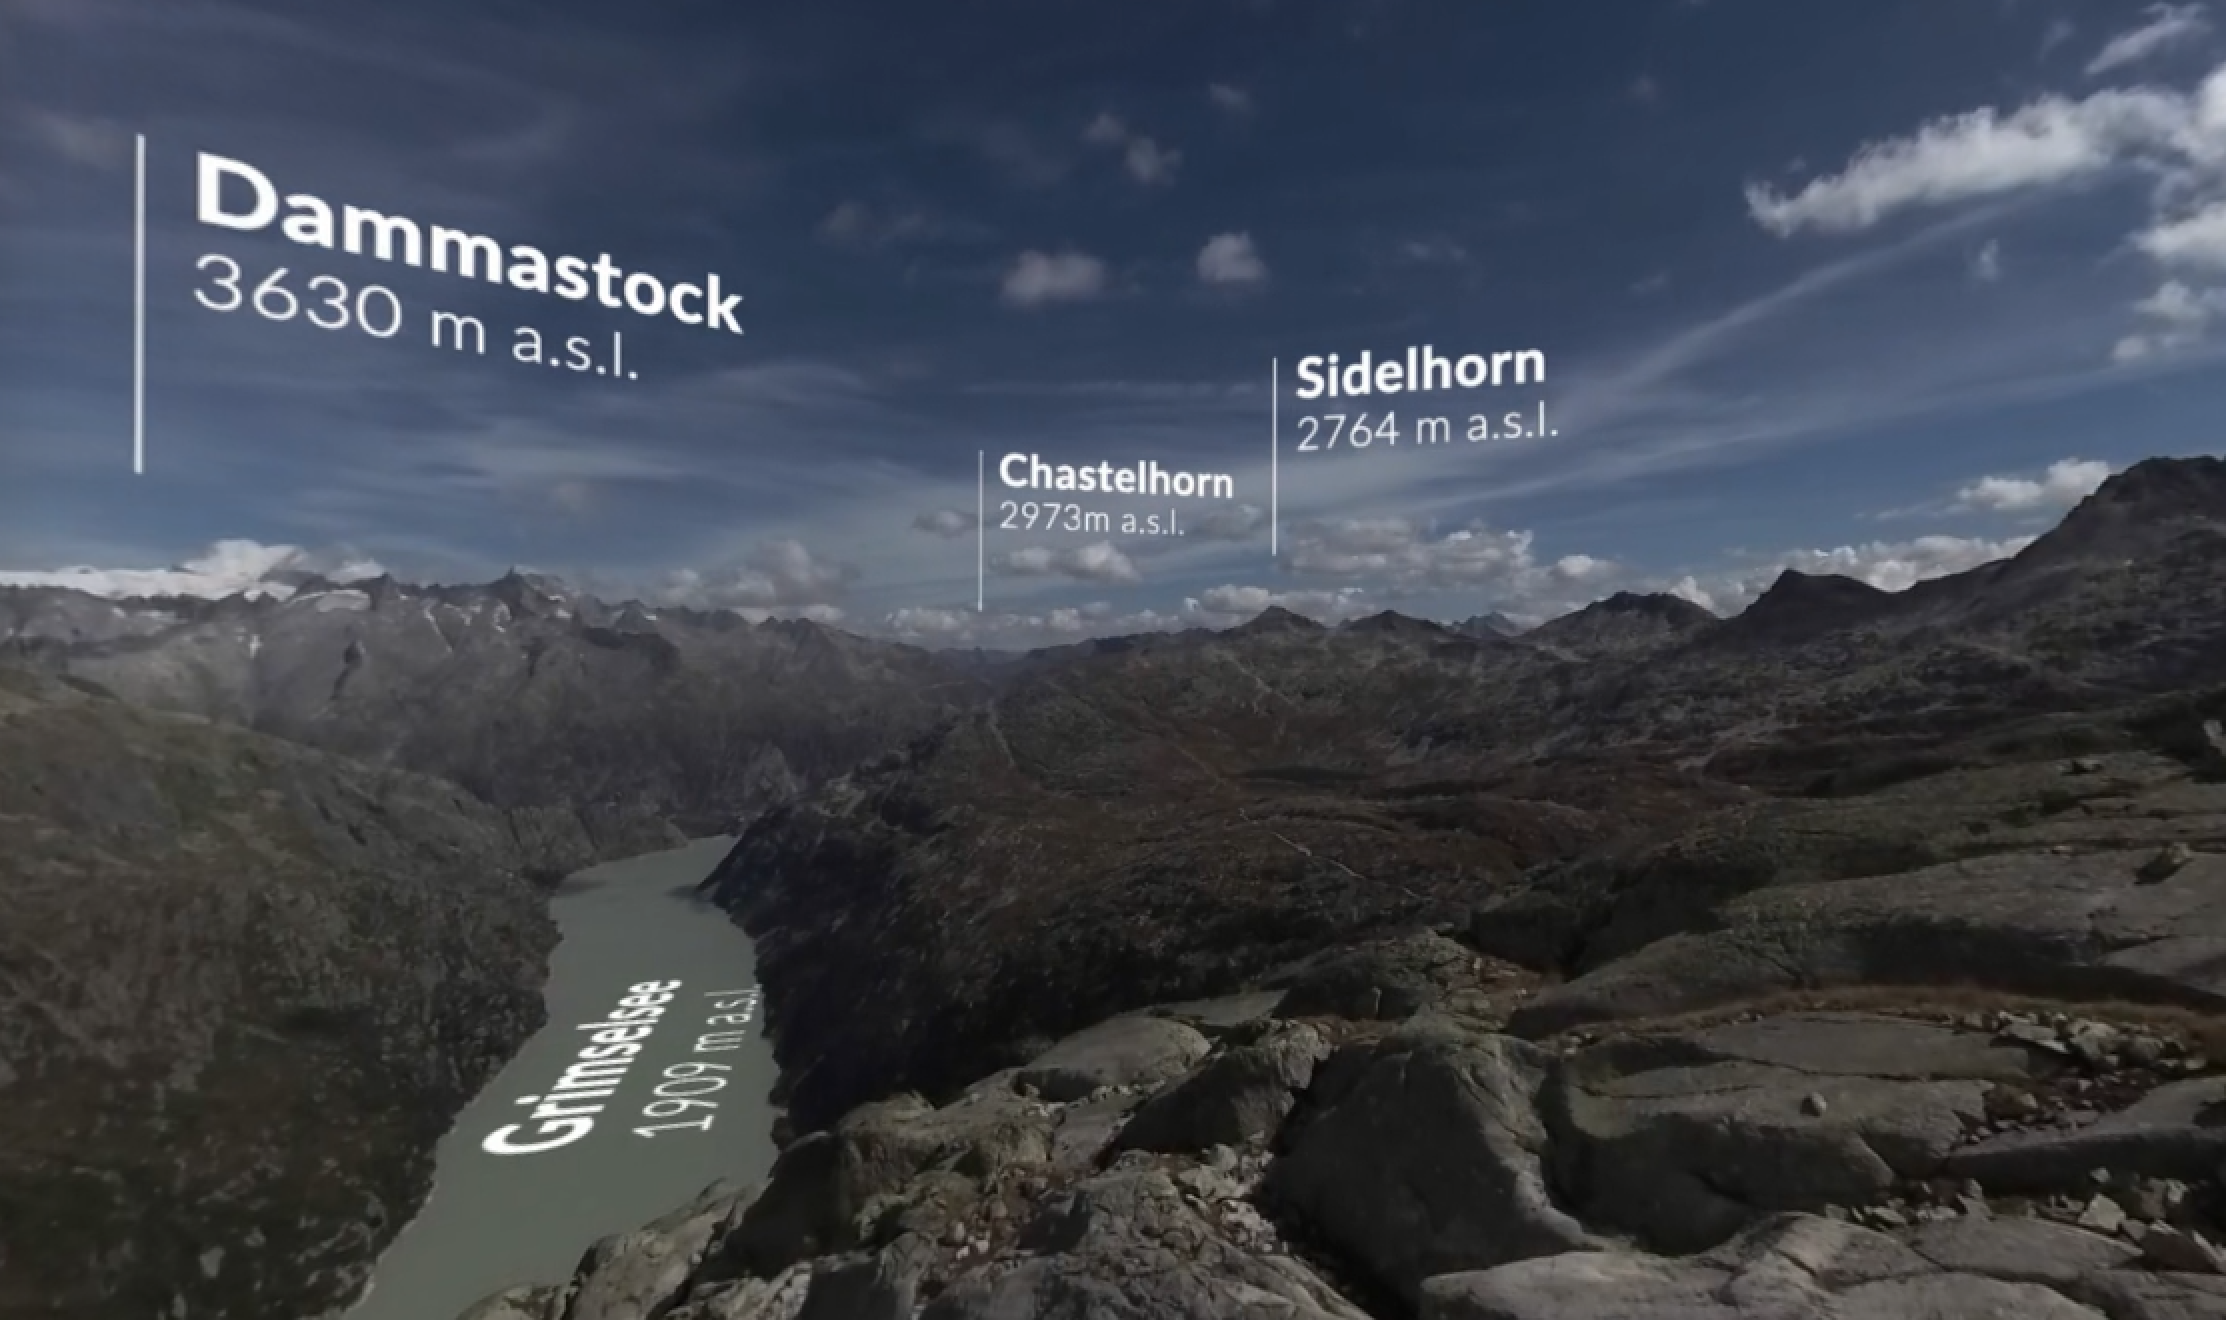
The movie used in this tutorial is a timelapse (without sound) shot high above the Oberaar lake in the Bernese Alps. It was made with an Insta360 Pro camera. Post-production was made using Adobe After Effects.
3. How-To
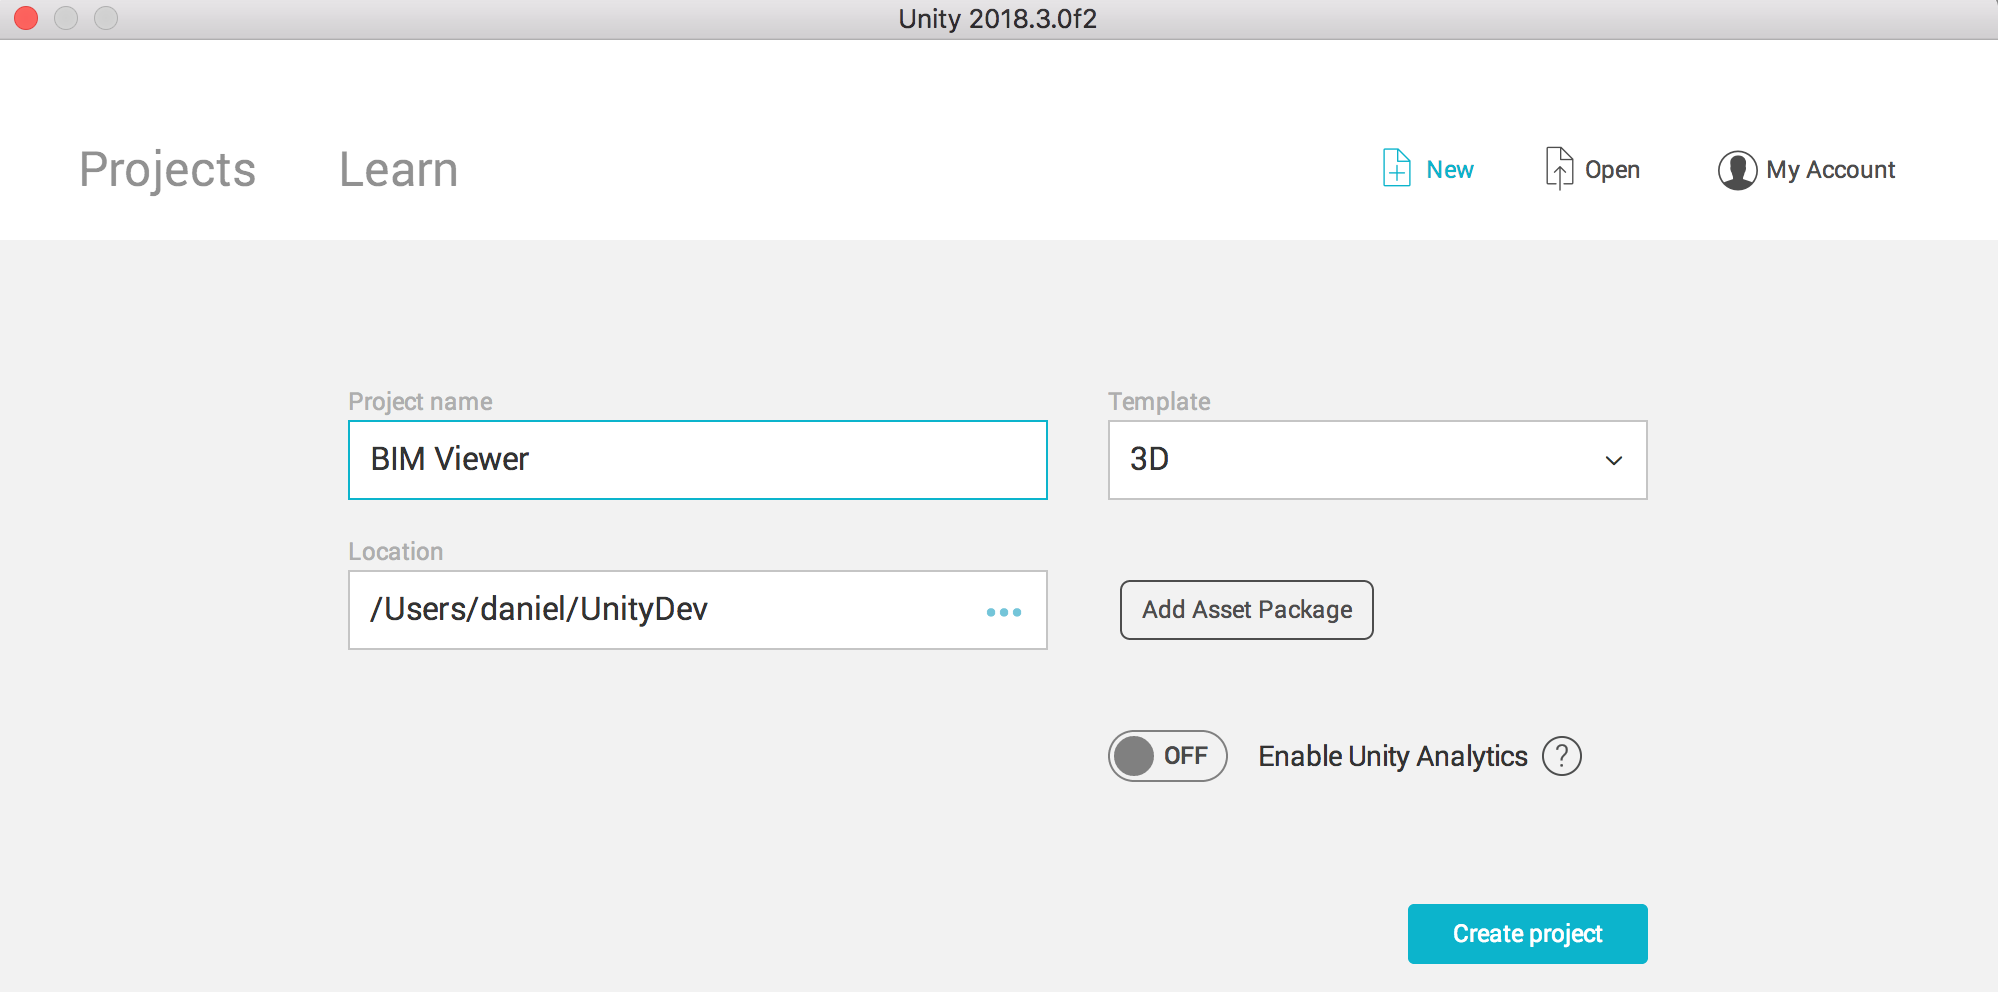
In Unity create a 3D project.
Under Project > Assets create four new folders, Editor, Movies, Materials and Textures.

Drag and drop:
- Skybox-PanoramicBeta.shader into the Assets
- SkyboxPanoramicBetaShaderGUI.cs into the Editor folder
- the 360 movie into Movies
Drag and drop the video into the Hierarchy. Hit the Play button, it will play the video in fullscreen mode, what isn’t the expected behavior. We would like to play it as a 360° view. To achieve this, we need to render the video as a texture.
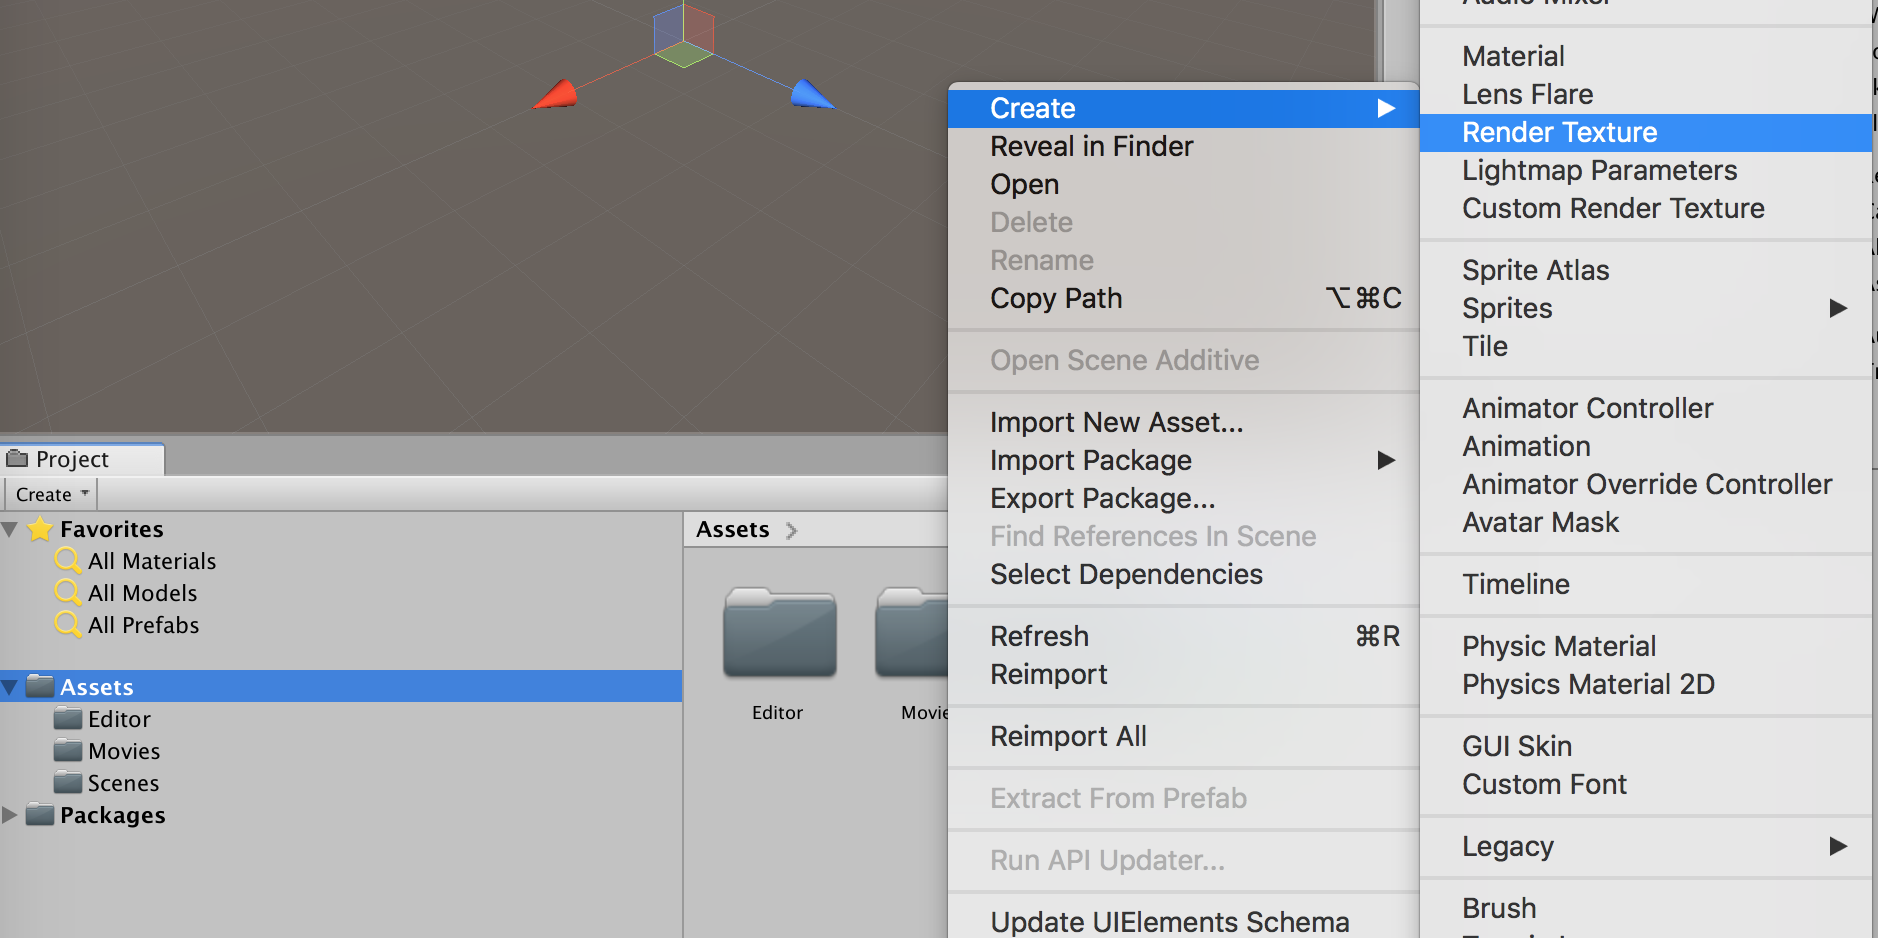
Under Project > Assets > Textures use the context menu to Create > Render Texture
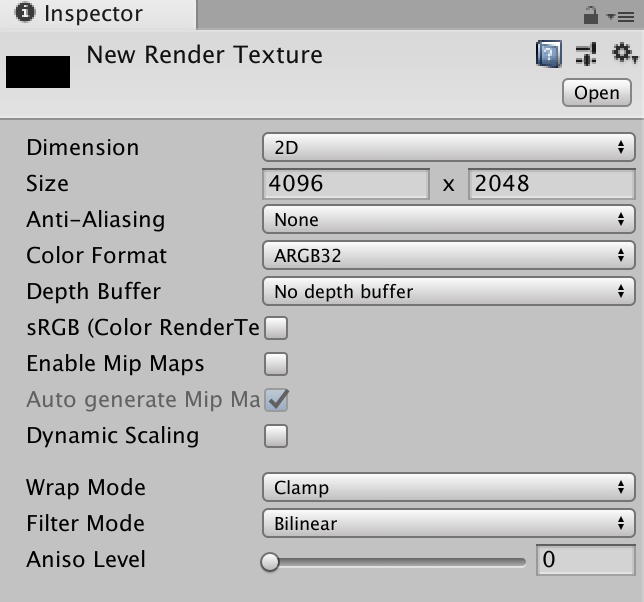
In the Inspector, set:
- Size to the exact video size
- Depth Buffer to No depth buffer
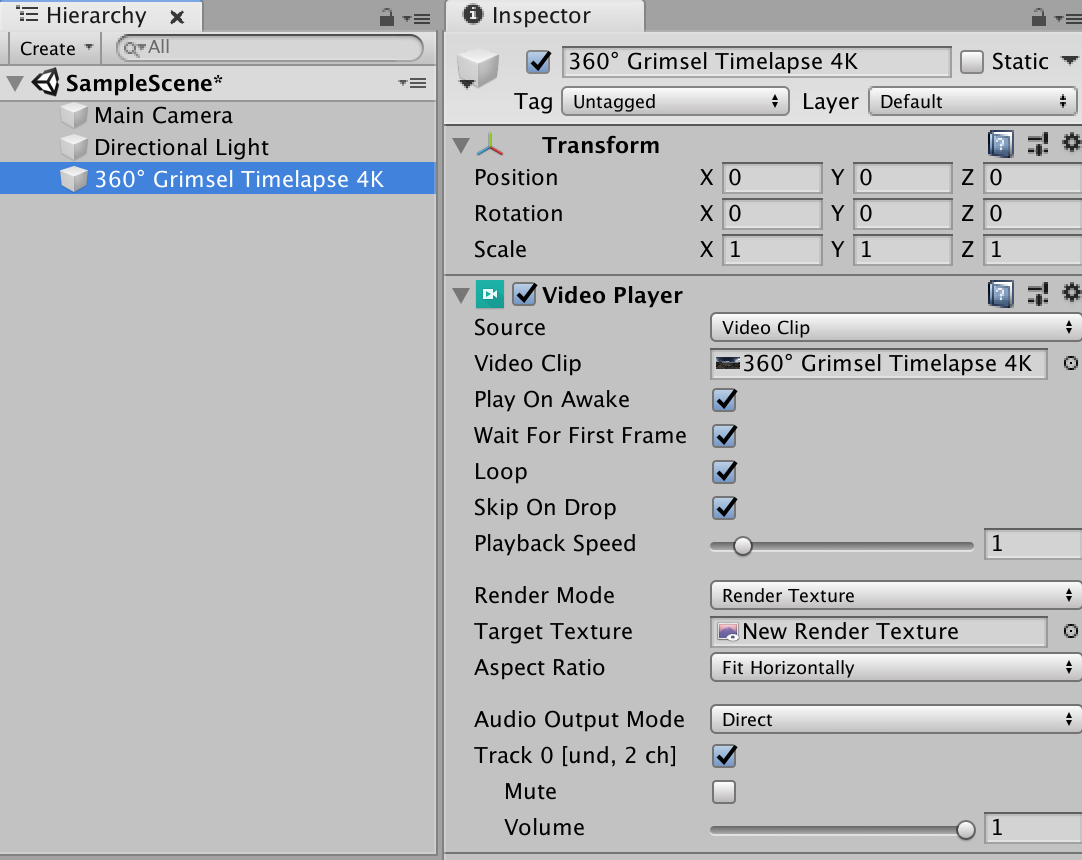
Under Hierarchy, click the video. In the Inspector, set:
- Render Mode to Render Texture
- drag and drop the new texture to Target Texture
- Audio Output Mode to None (only needed if you don’t want the video sound)
Now, if you hit the Play button, the video is no more displayed, but it was added to the texture we created before.
Under Project > Assets > Materials create a new material (context menu > Create > Material).
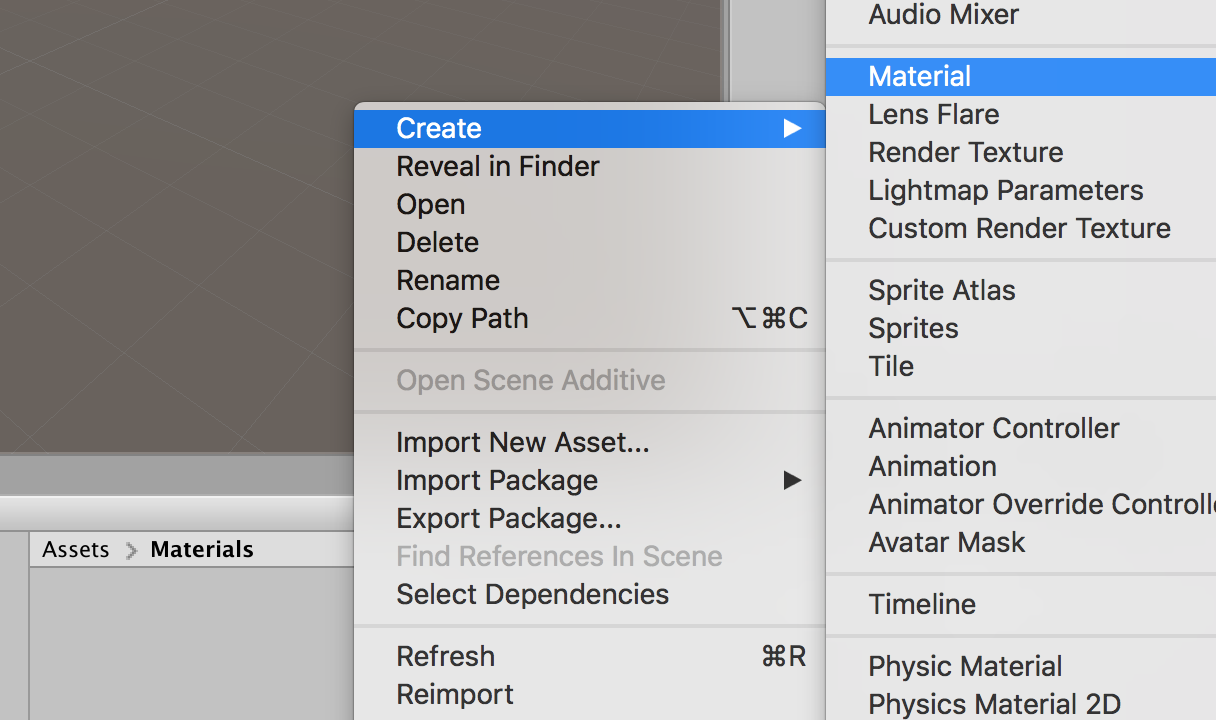
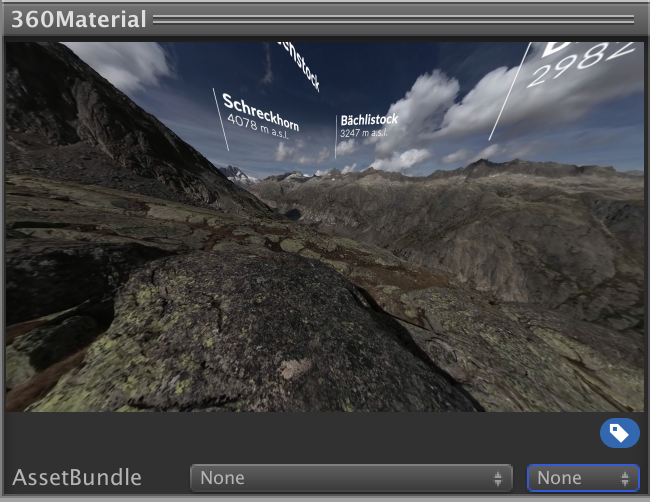
In the Inspector, set the Shader to Skybox/Panoramic or PanoramicBeta.
Drag and drop the texture from Assets/Textures to the texture’s slot (Spherical (HDR)).
Set the Mapping and Image Type settings corresponding to your video.

In Inspector’s preview, you can see the movie and “turn around” the 360° scene.
Now we need to add the material as a background image to our Scene. We open the Lighting Settings from the menu Window > Rendering > Lighting Settings.

Go to the Scene tab. Drag and drop the created material to the slot Environment > Skybox Material.

If you hit the Play button, the video is played.
The problem is that we can’t move our camera view. For doing this, we use a small piece of code described in another post (here: http://mountainpath.ch/cmsimplexh/index.php?Unity-3D/Create-a-3D-model-viewer-with-Unity-3D). Here we only need the script using the arrow keys.
The following steps are needed:
- Create a new C# script.
- Add the script to the Main Camera object.
- Add the needed code.
Once this has been implemented, you can now hit Play and turn around using the arrow keys.
However this solution doesn’t work with WebGL and Android because of some bugs (in Unity 2018.3).
3.1 The WebGL Implementation
To make the whole stuff run on WebGL, we need some kind of workaround.
On your web server, create a new folder named Movies. Copy your movie to this web folder.
Add a new text file named .htaccess (don’t forget the period at the name’s beginning) to this web folder. And add the code below in this file. This will allow you to access the video from anywhere.
<FilesMatch "\.(php)$">
<IfModule mod_headers.c>
Header set Access-Control-Allow-Origin "*"
</IfModule>
</FilesMatch>

Header set Access-Control-Allow-Origin "*"
Header set Access-Control-Allow-Methods "POST, GET, OPTIONS"
Header set Access-Control-Max-Age "1000"
Header set Access-Control-Allow-Headers "x-requested-with, Content-Type, origin,
authorization, accept, client-security-token"
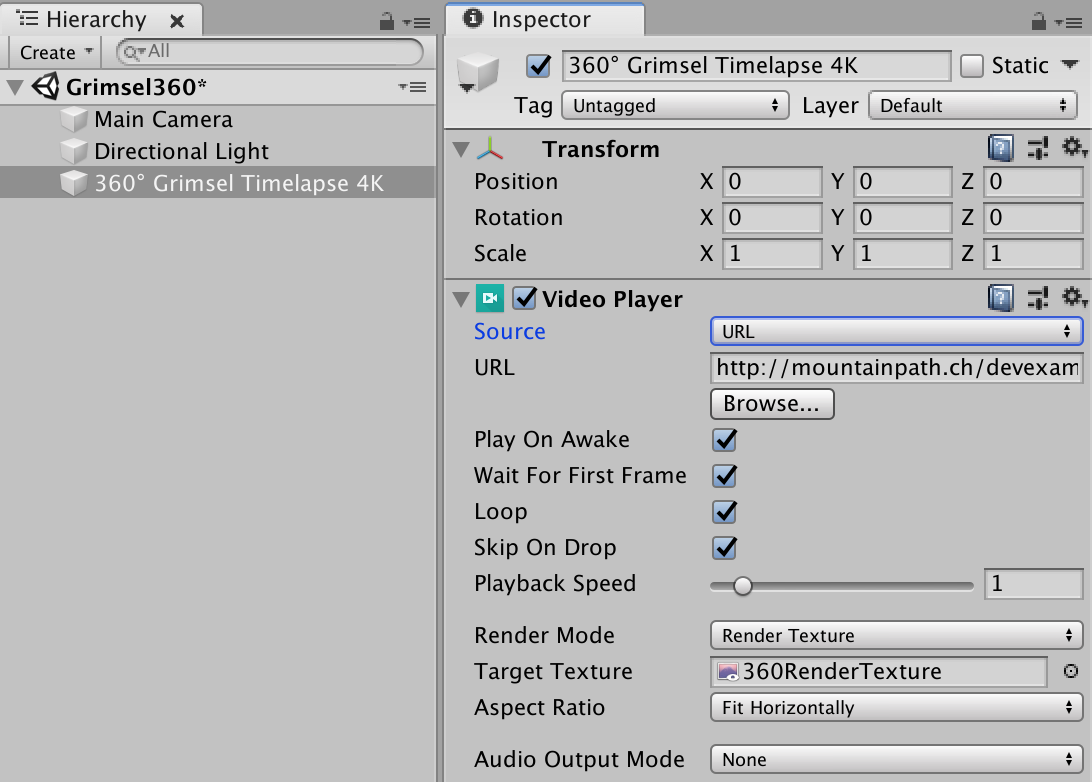
Back in Unity, click on the video in Hierarchy.
In the Inspector, under Video Player > Source, choose URL.
Under Video Player > URL paste the access path to the video.
Build your WebGL as usual.
If you run the html from your local computer, only a black screen will appear. So, upload all the WebGL stuff to your web server and run it in the browser. Tada! Now it works!


