Create a virtual museum in one day
1. Objective
Create a virtual museum in one day without coding.
The browser demo can be seen here. The Mac OS X app is here (180mb).
2. Needed Tools
The following tools are needed:
- Unity: create the viewer.
- Standard Assets: some free assets for Unity 3D.
- Images and 3D models of the pieces of art.
- Sweet Home 3D: create the museum.
2.1 Unity
Unity is cross-platform game engine developed by Unity Technologies.
There’s a free personal edition. Download it from here: https://store.unity.com/products/unity-personal. Once downloaded, install it and create your login.
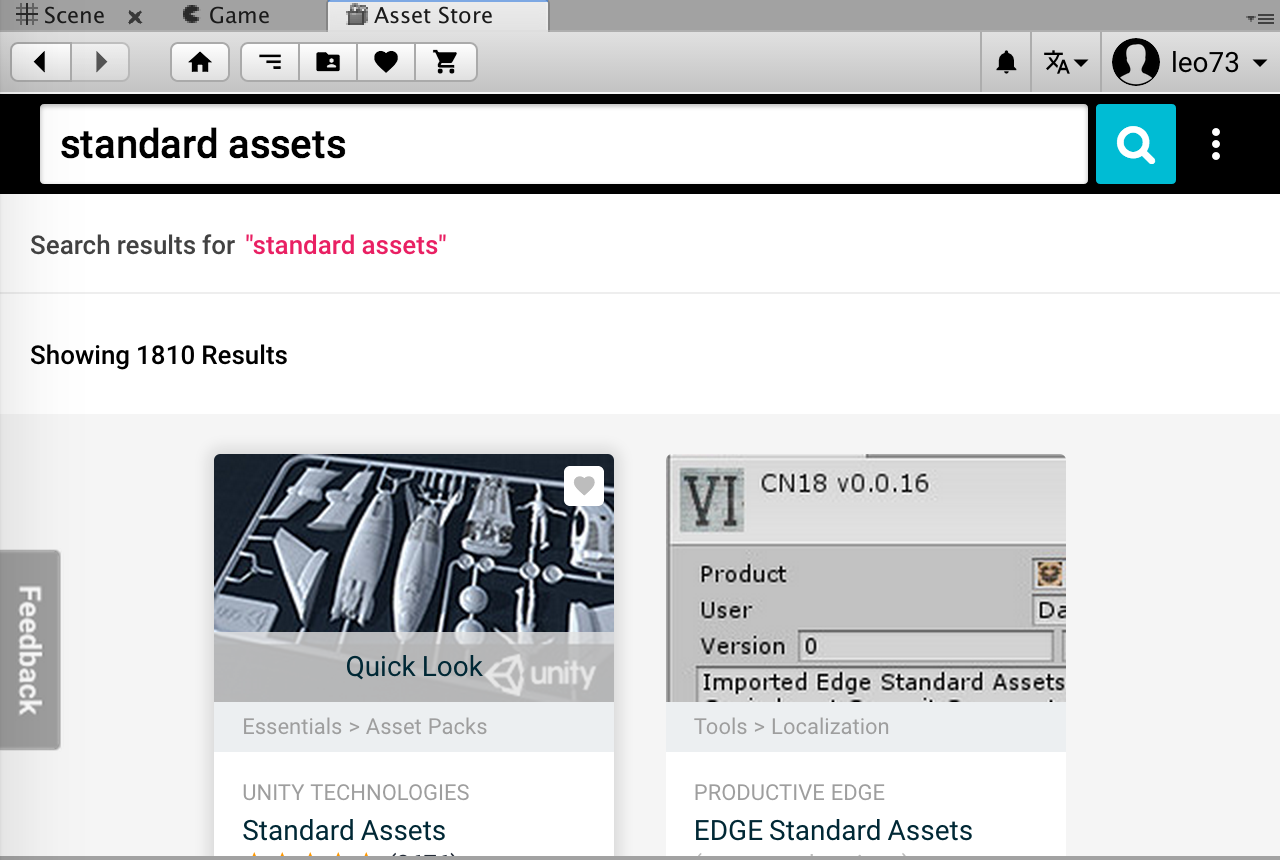
2.2 Standard Assets
This collection of assets, scripts, and example scenes can be used to kickstart your Unity learning or be used as the basis for your own projects. Download it from here: https://assetstore.unity.com/packages/essentials/asset-packs/standard-assets-32351. These assets can also be added directly from within Unity 3D.
2.3 Pieces of art
You will need photos and 3D models of the pieces of art you want to show in your museum.
2.4 Sweet Home 3D
Sweet Home 3D is a free interior design software application that allows for the planning and development of floor plans, as well as the ability to arrange furniture on it and view the results in 3D. It can be found here: http://www.sweethome3d.com/.
3. How-To
3.1 Museum 3D model
The museum’s 3D model can be created in any 3D or architecture software (e.g. Blender, etc.), but also in some less complex software like Sweet Home 3D.
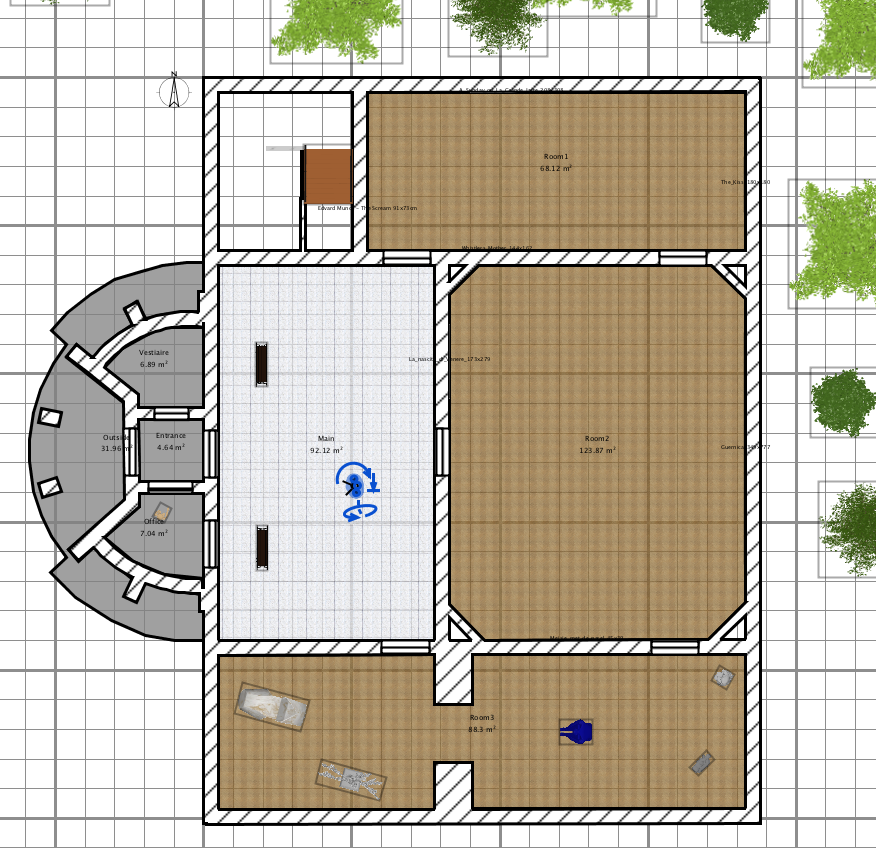
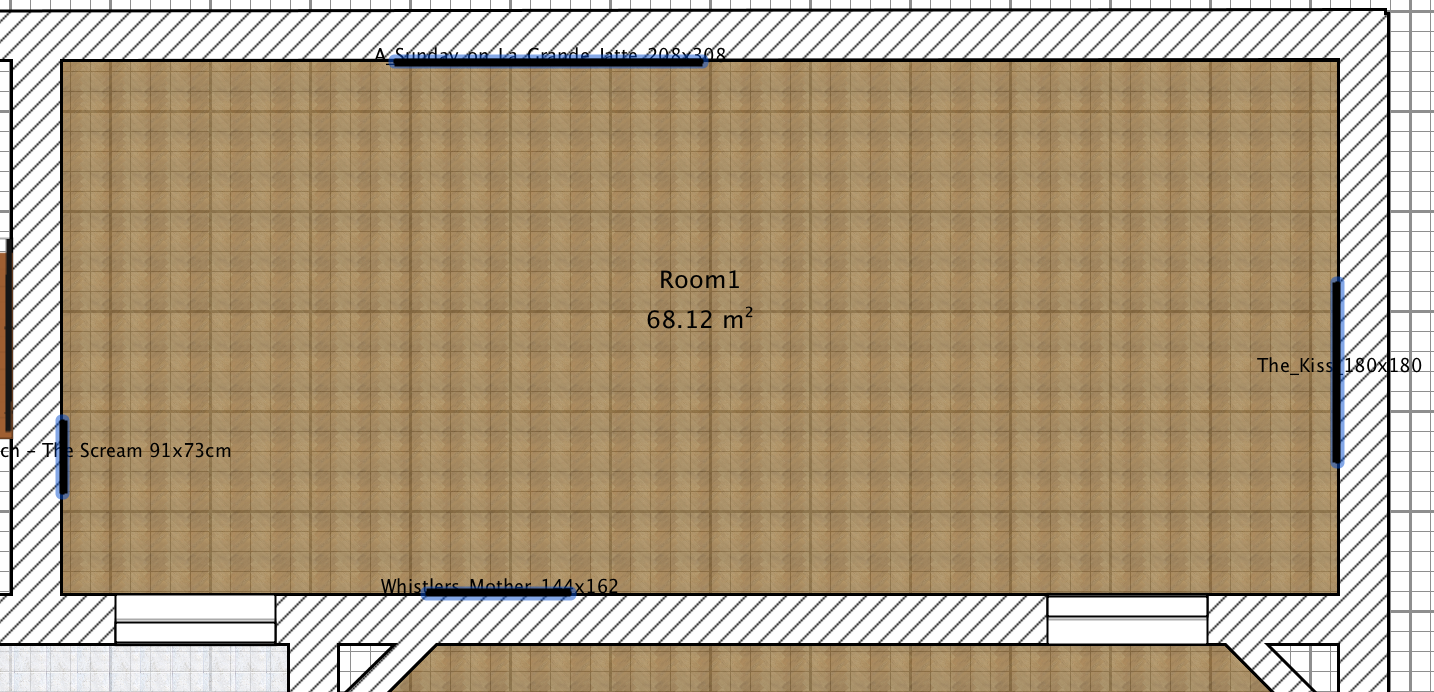
In Sweet Home 3D, create the floor plan with the walls and the doors (and windows if needed).
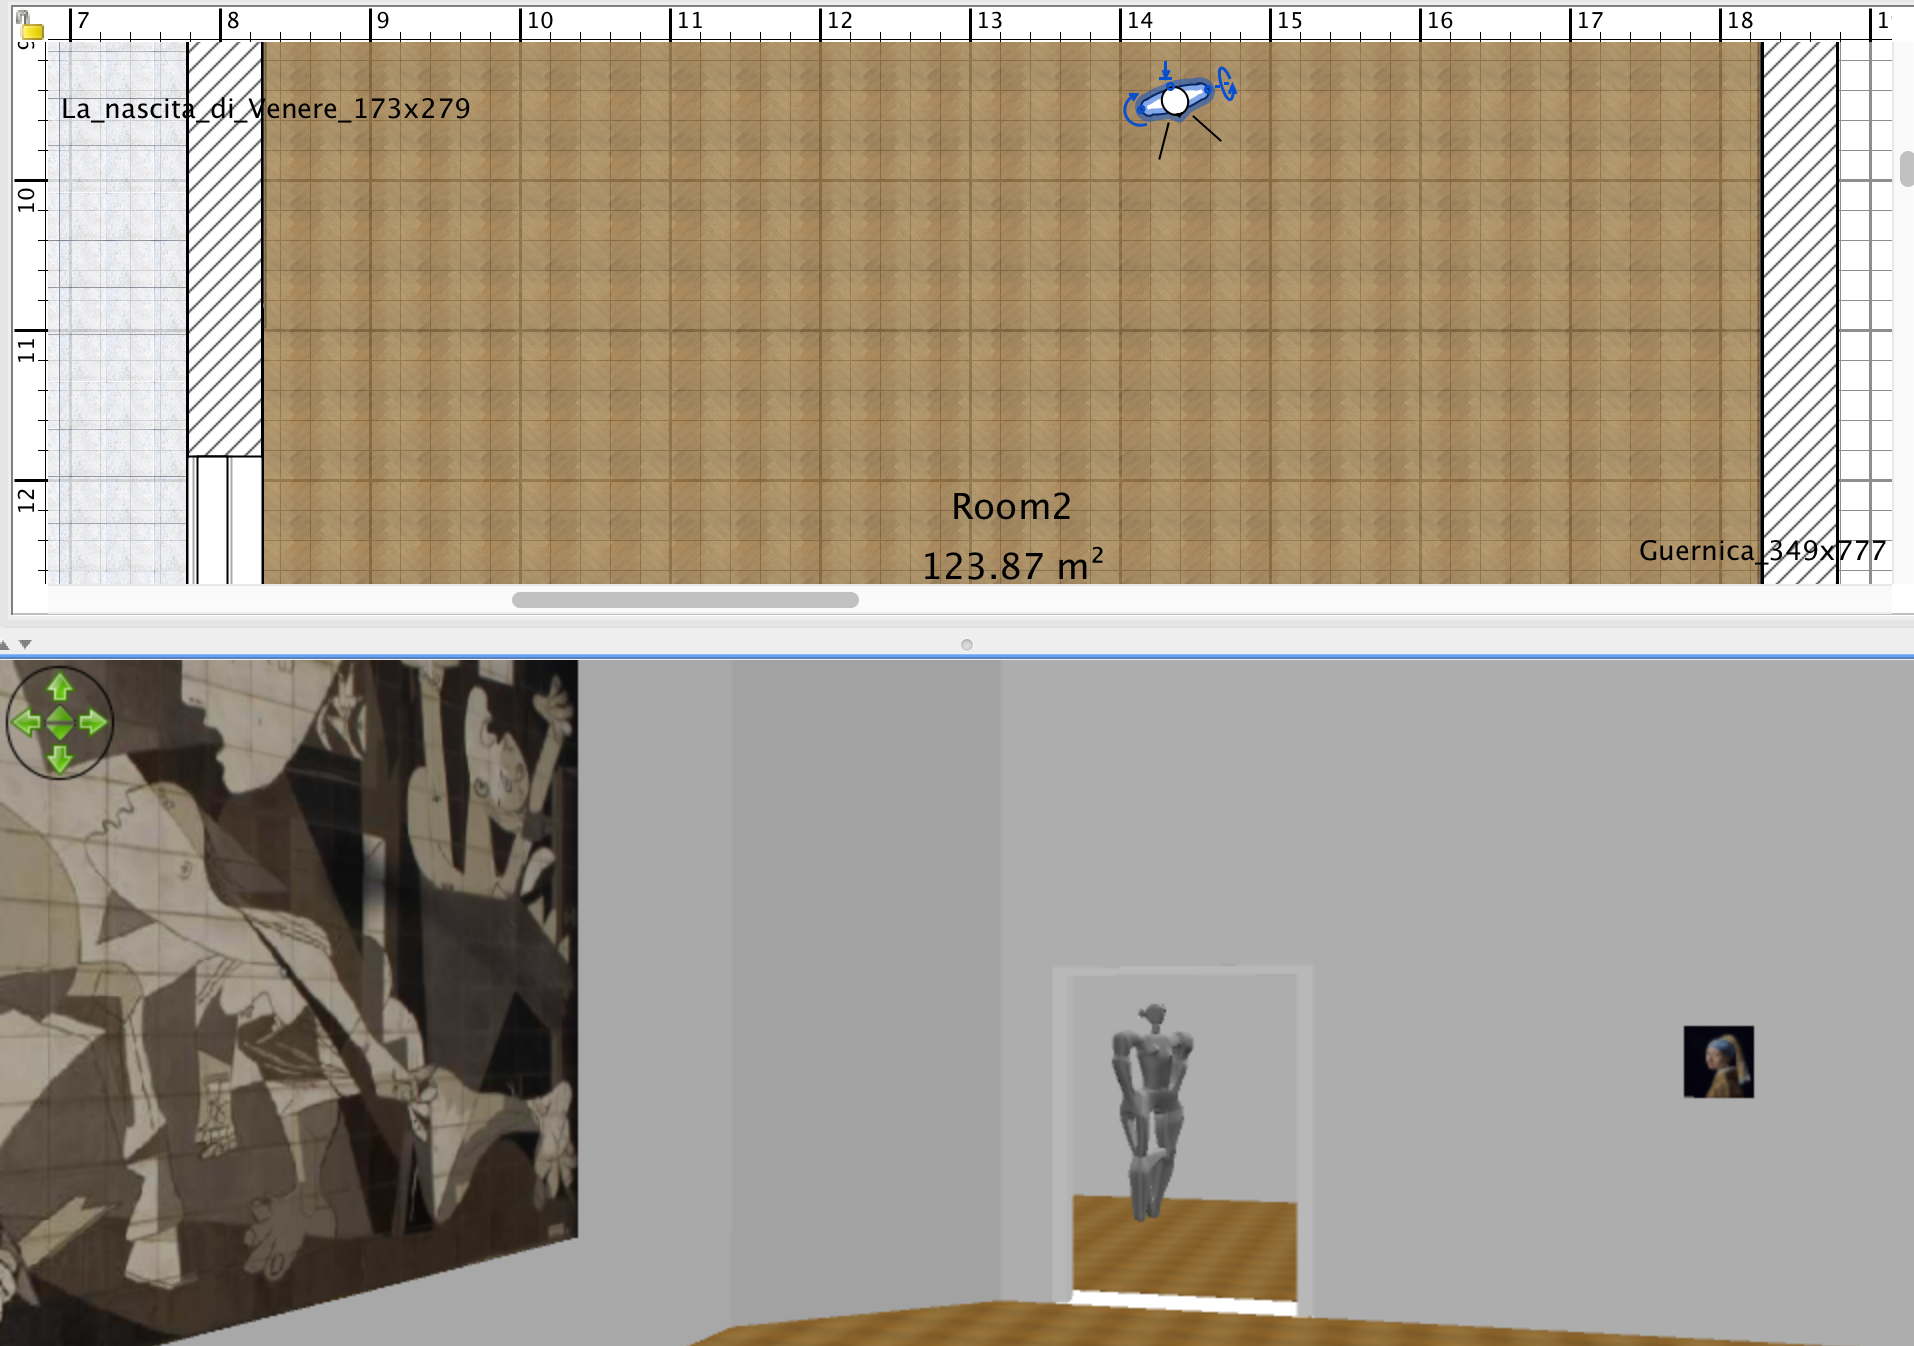
In the room, add a Frame furniture
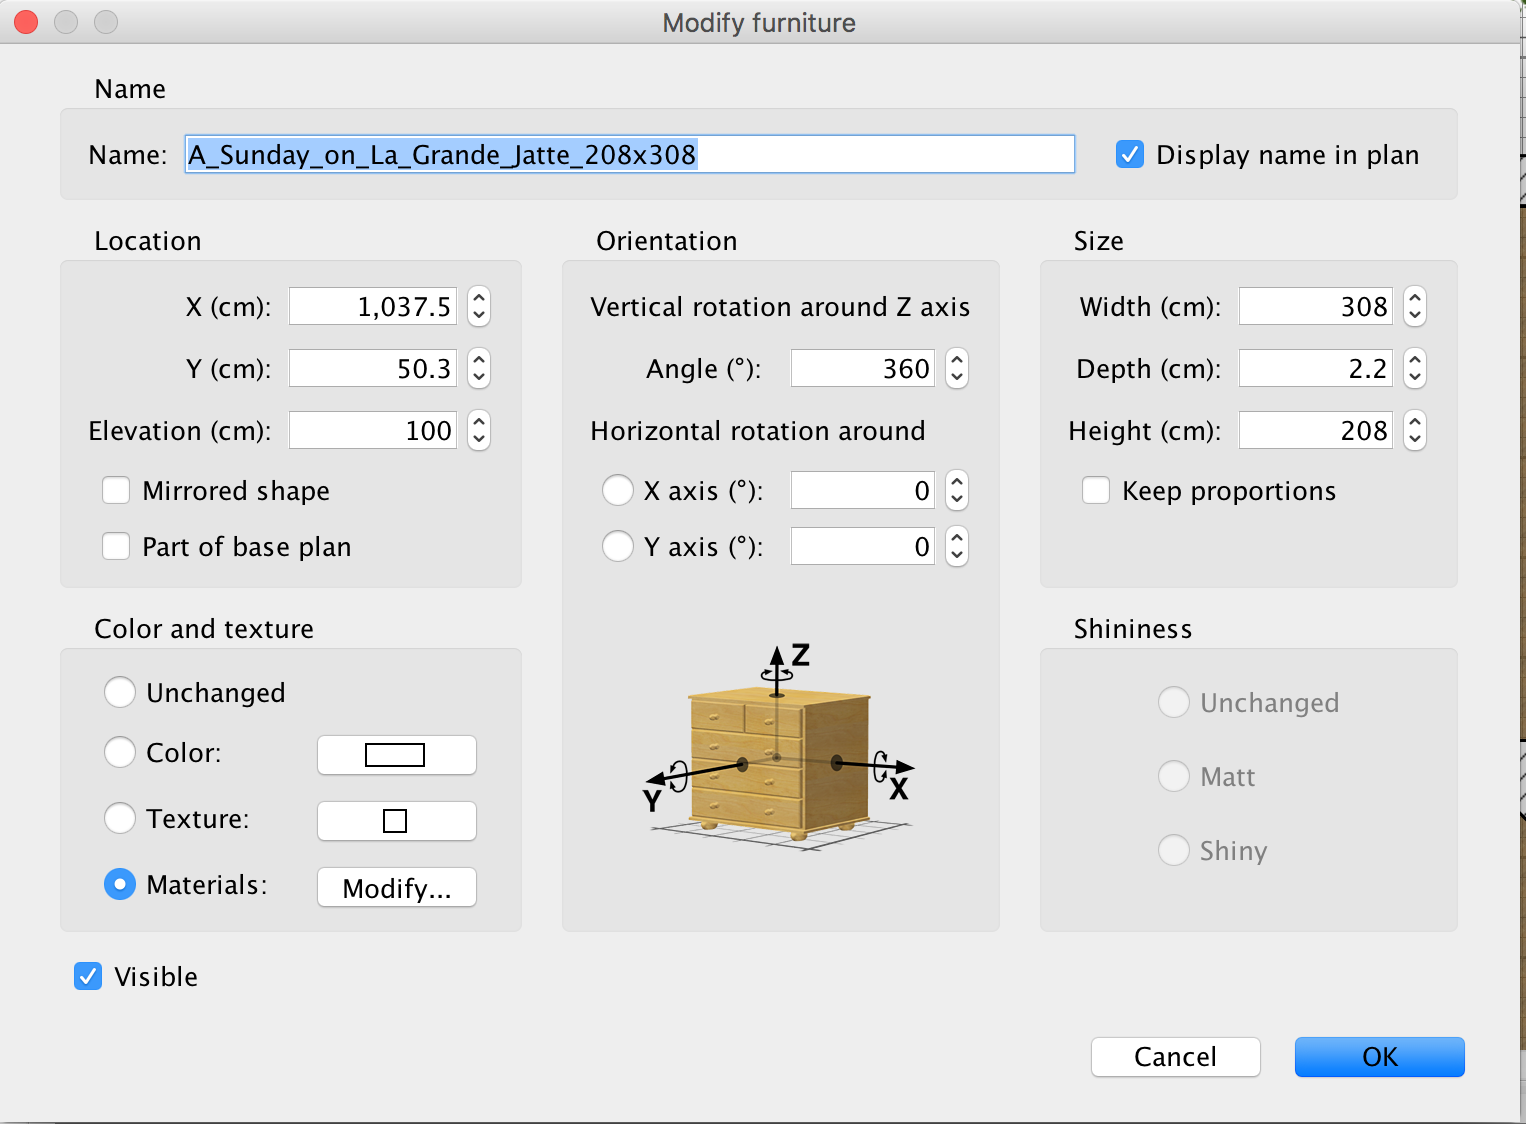
Double-click the frame:
- Give it a name.
- Under Size, change the size to the painting size.
- Under Location, set the Elevation (lower end of the frame).
- Under Color and texture, choose Materials and click Modify.
Under Model materials, select Picture. Under Color and texture, select Texture and click the button on the right.
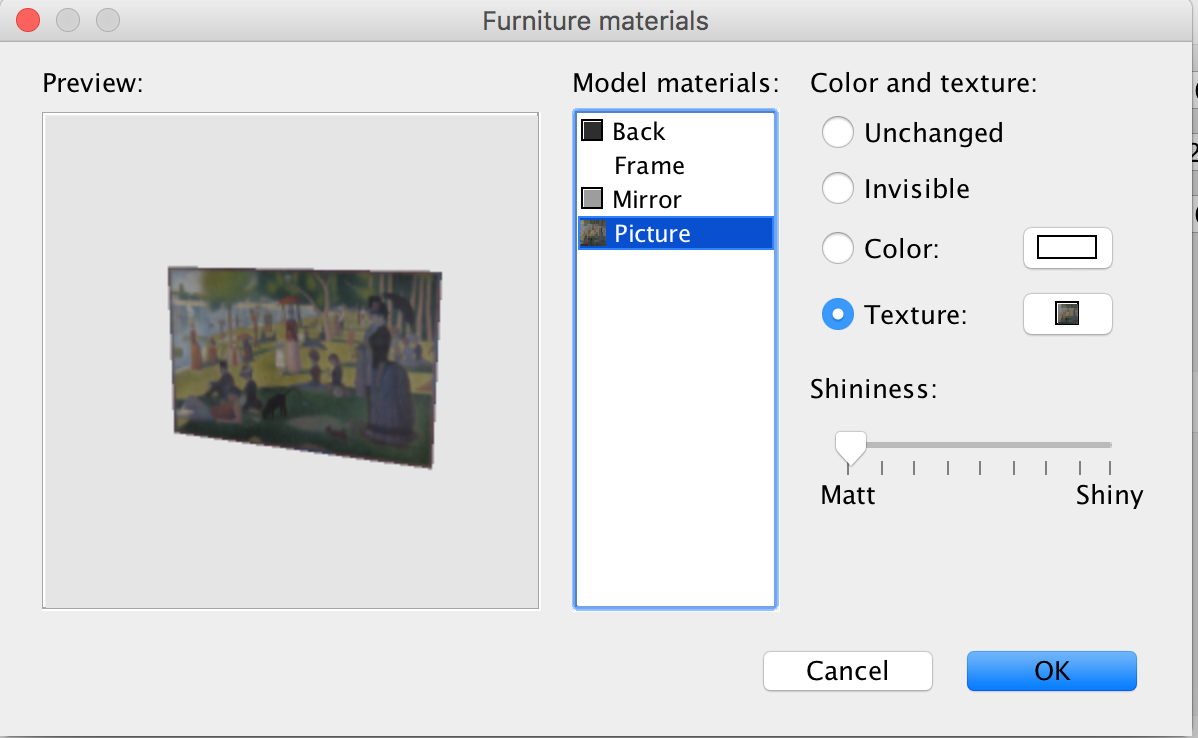
Choose an available texture/painting. If none exists, click on the Import button.
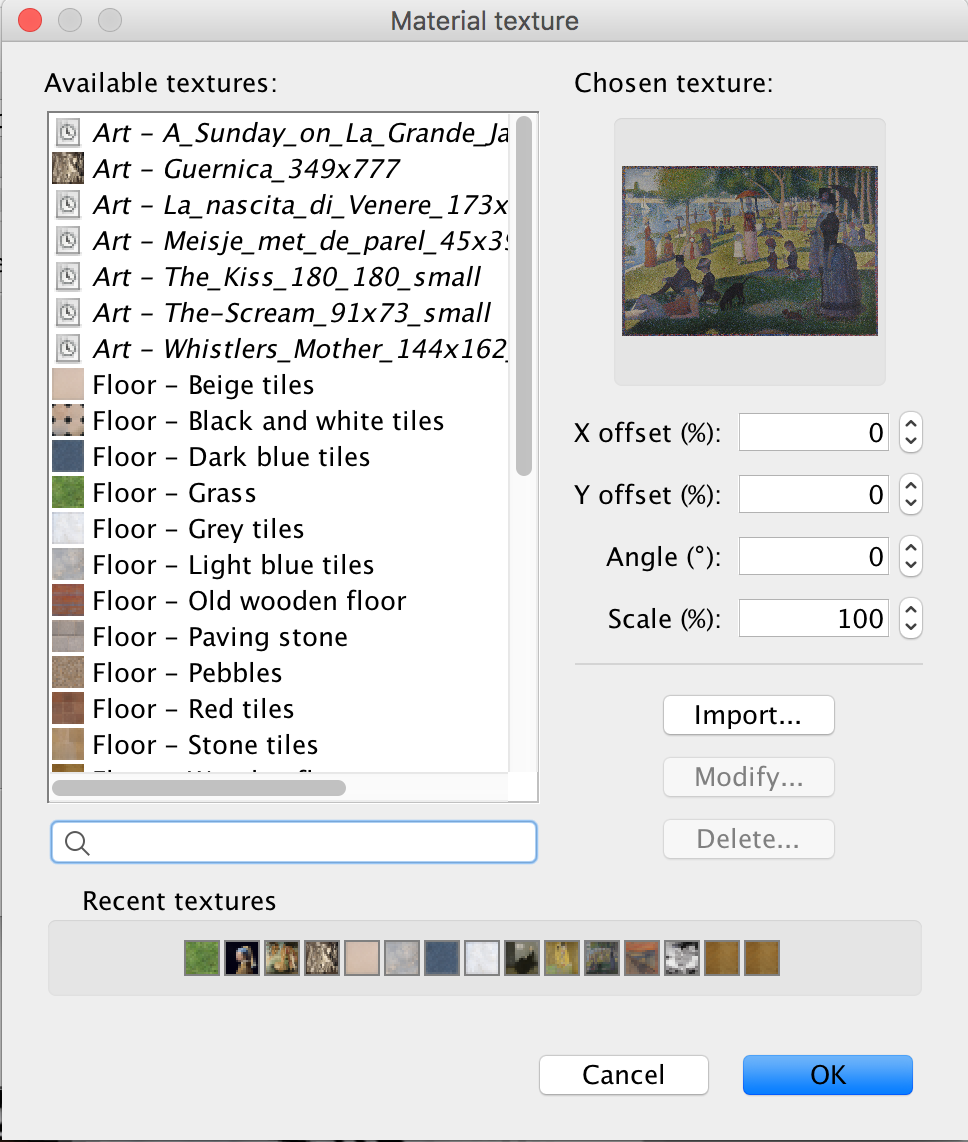
Choose the painting to import.
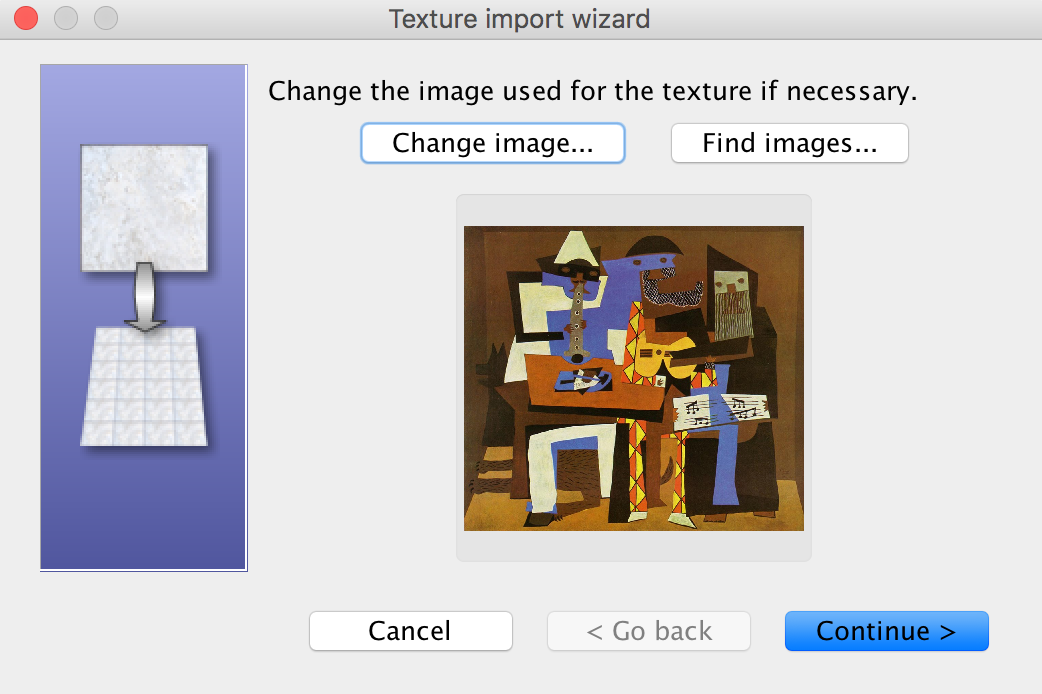
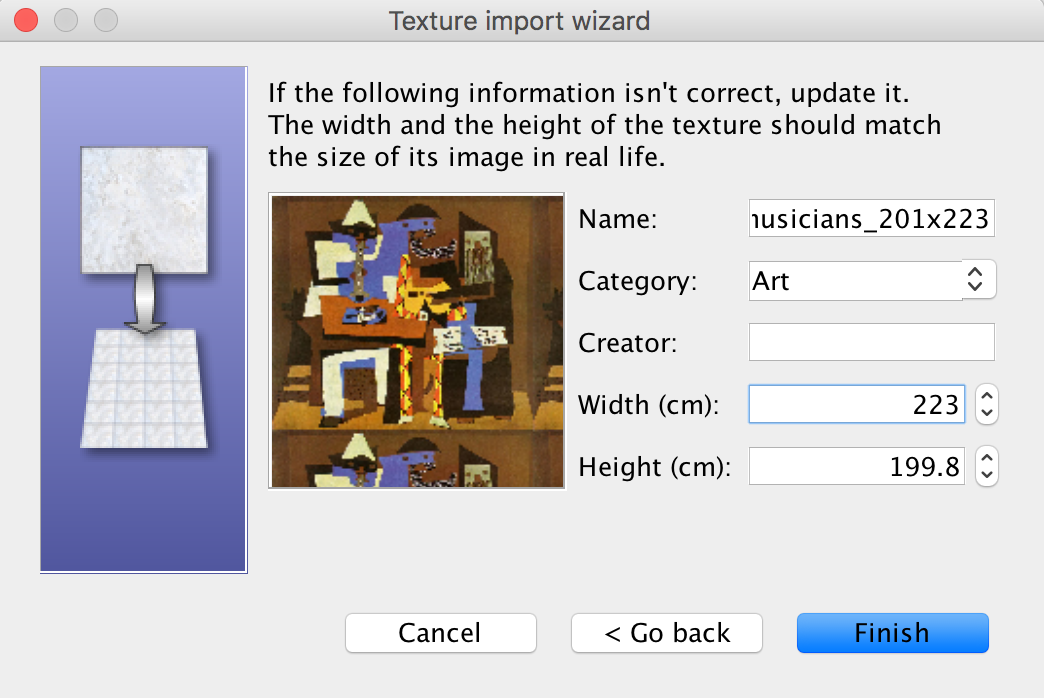
Name the picture, set its category and set the picture size.
If you want to some sculptures, you will need 3D objects of those. An easy workaround could be to picture the sculpture from five sides (front, behind, left, right, top) and use these photos as textures of a cube. It won’t be as nice as a real 3D model, but it’s fast to create.
The 3D model must be added as a furniture.
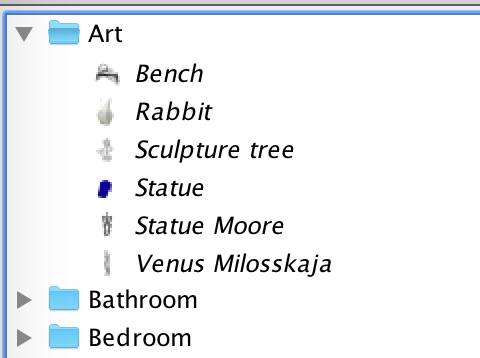
The sculpture is added to the room by drag and drop from the furnitures’ list to the room.
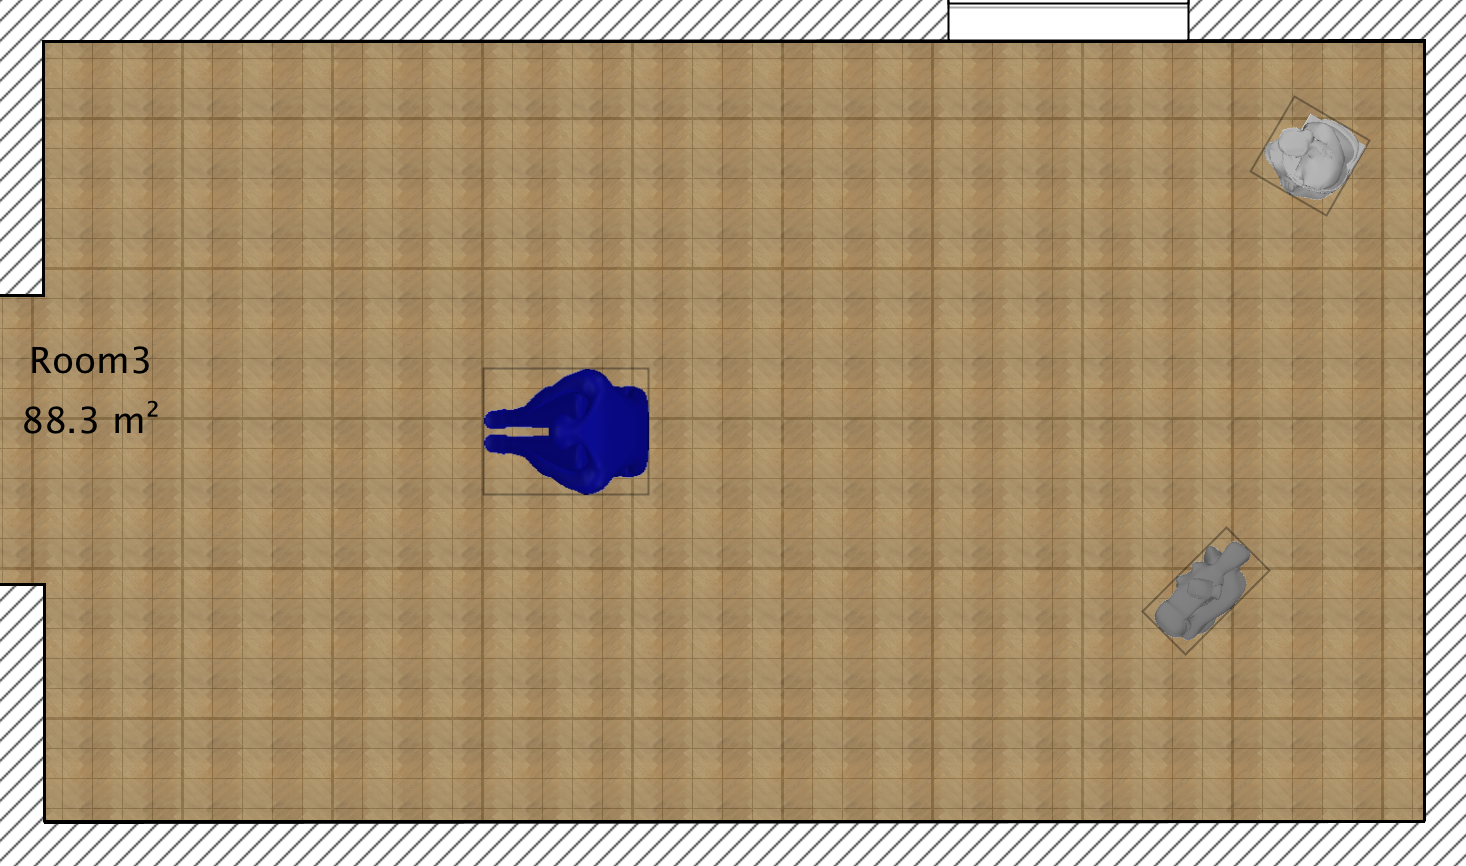
Check that your house is built correctly with the menu 3D View > Aerial View.
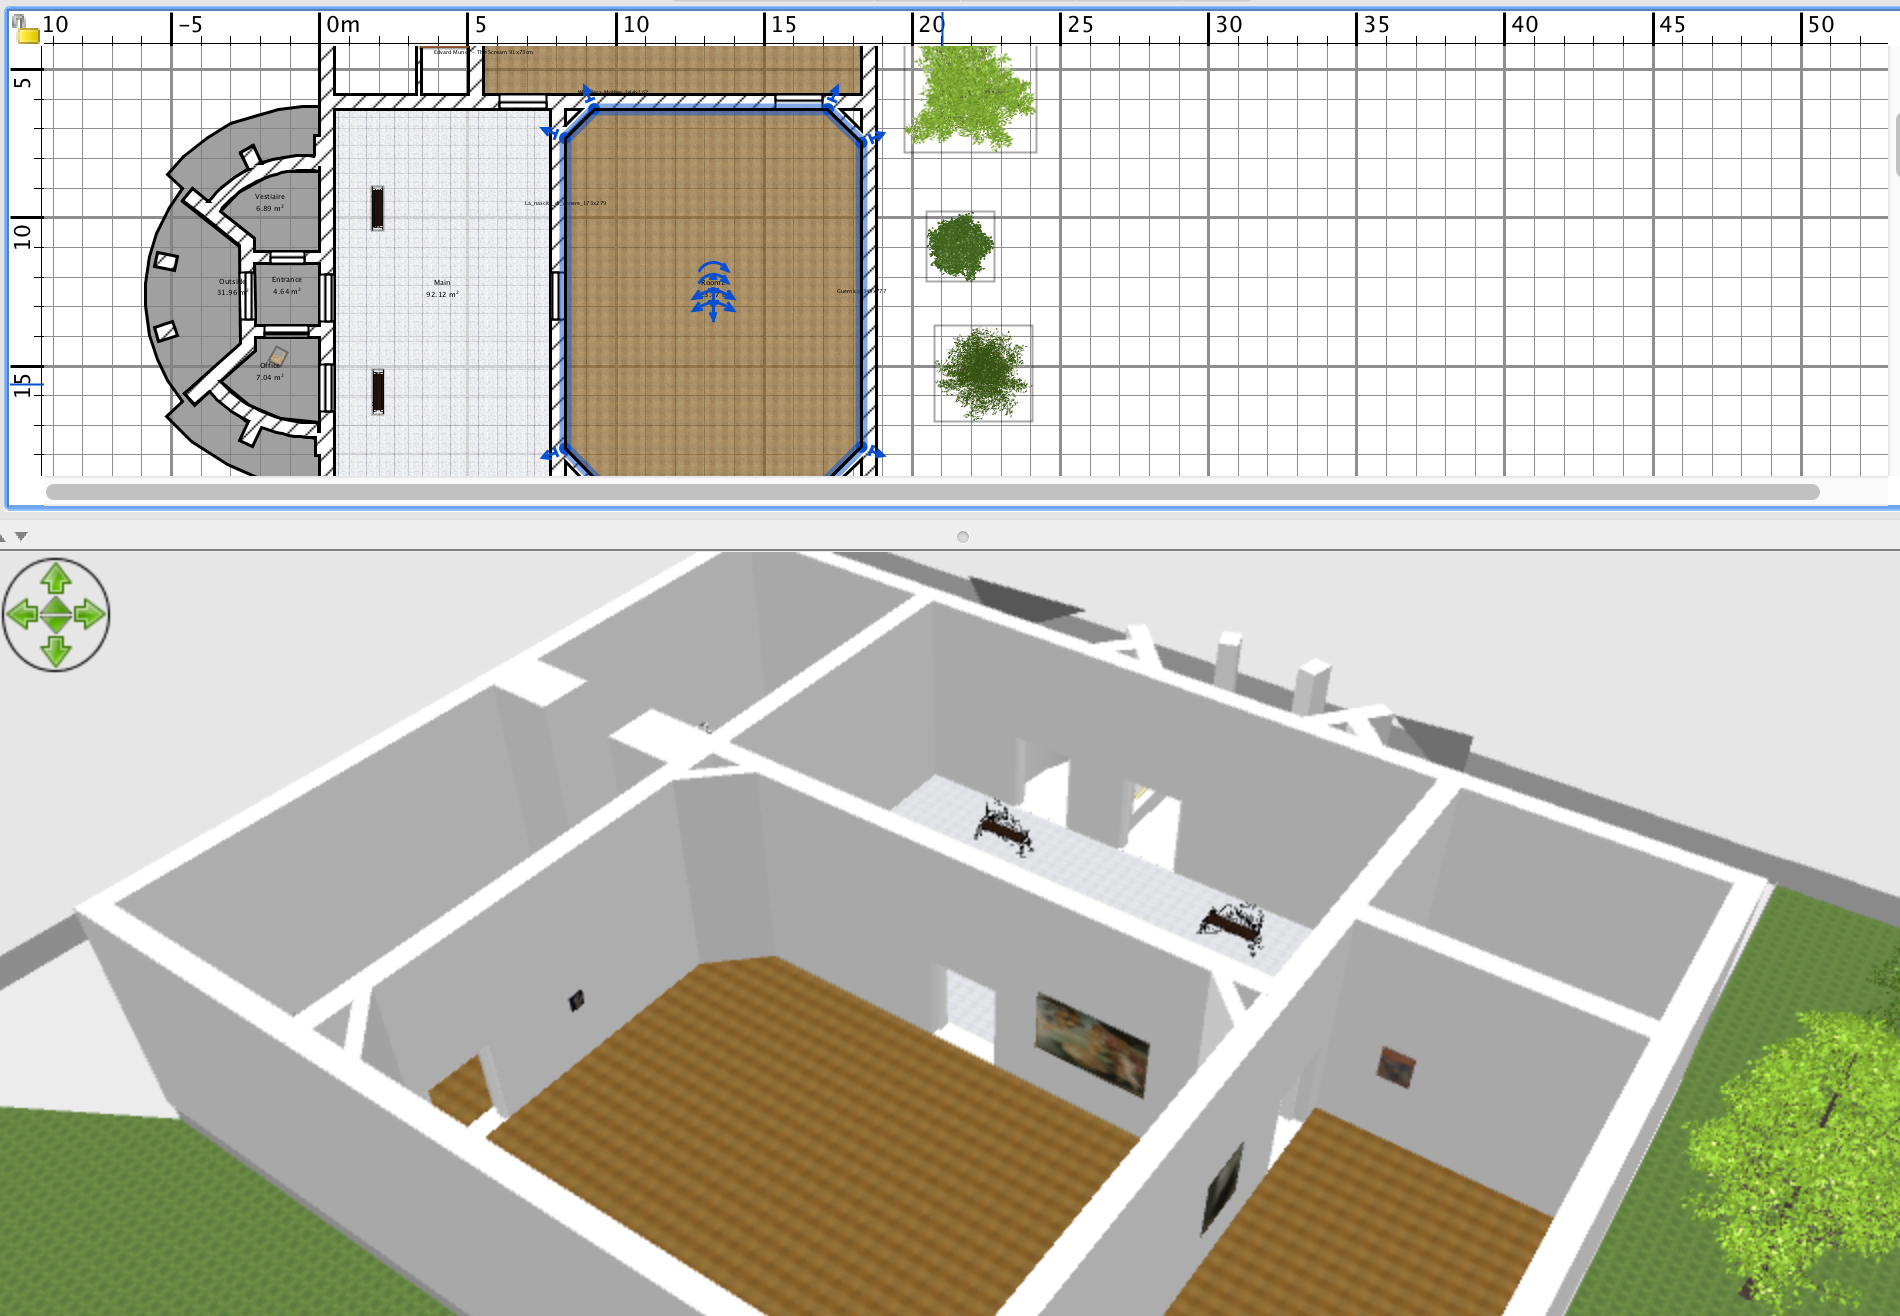
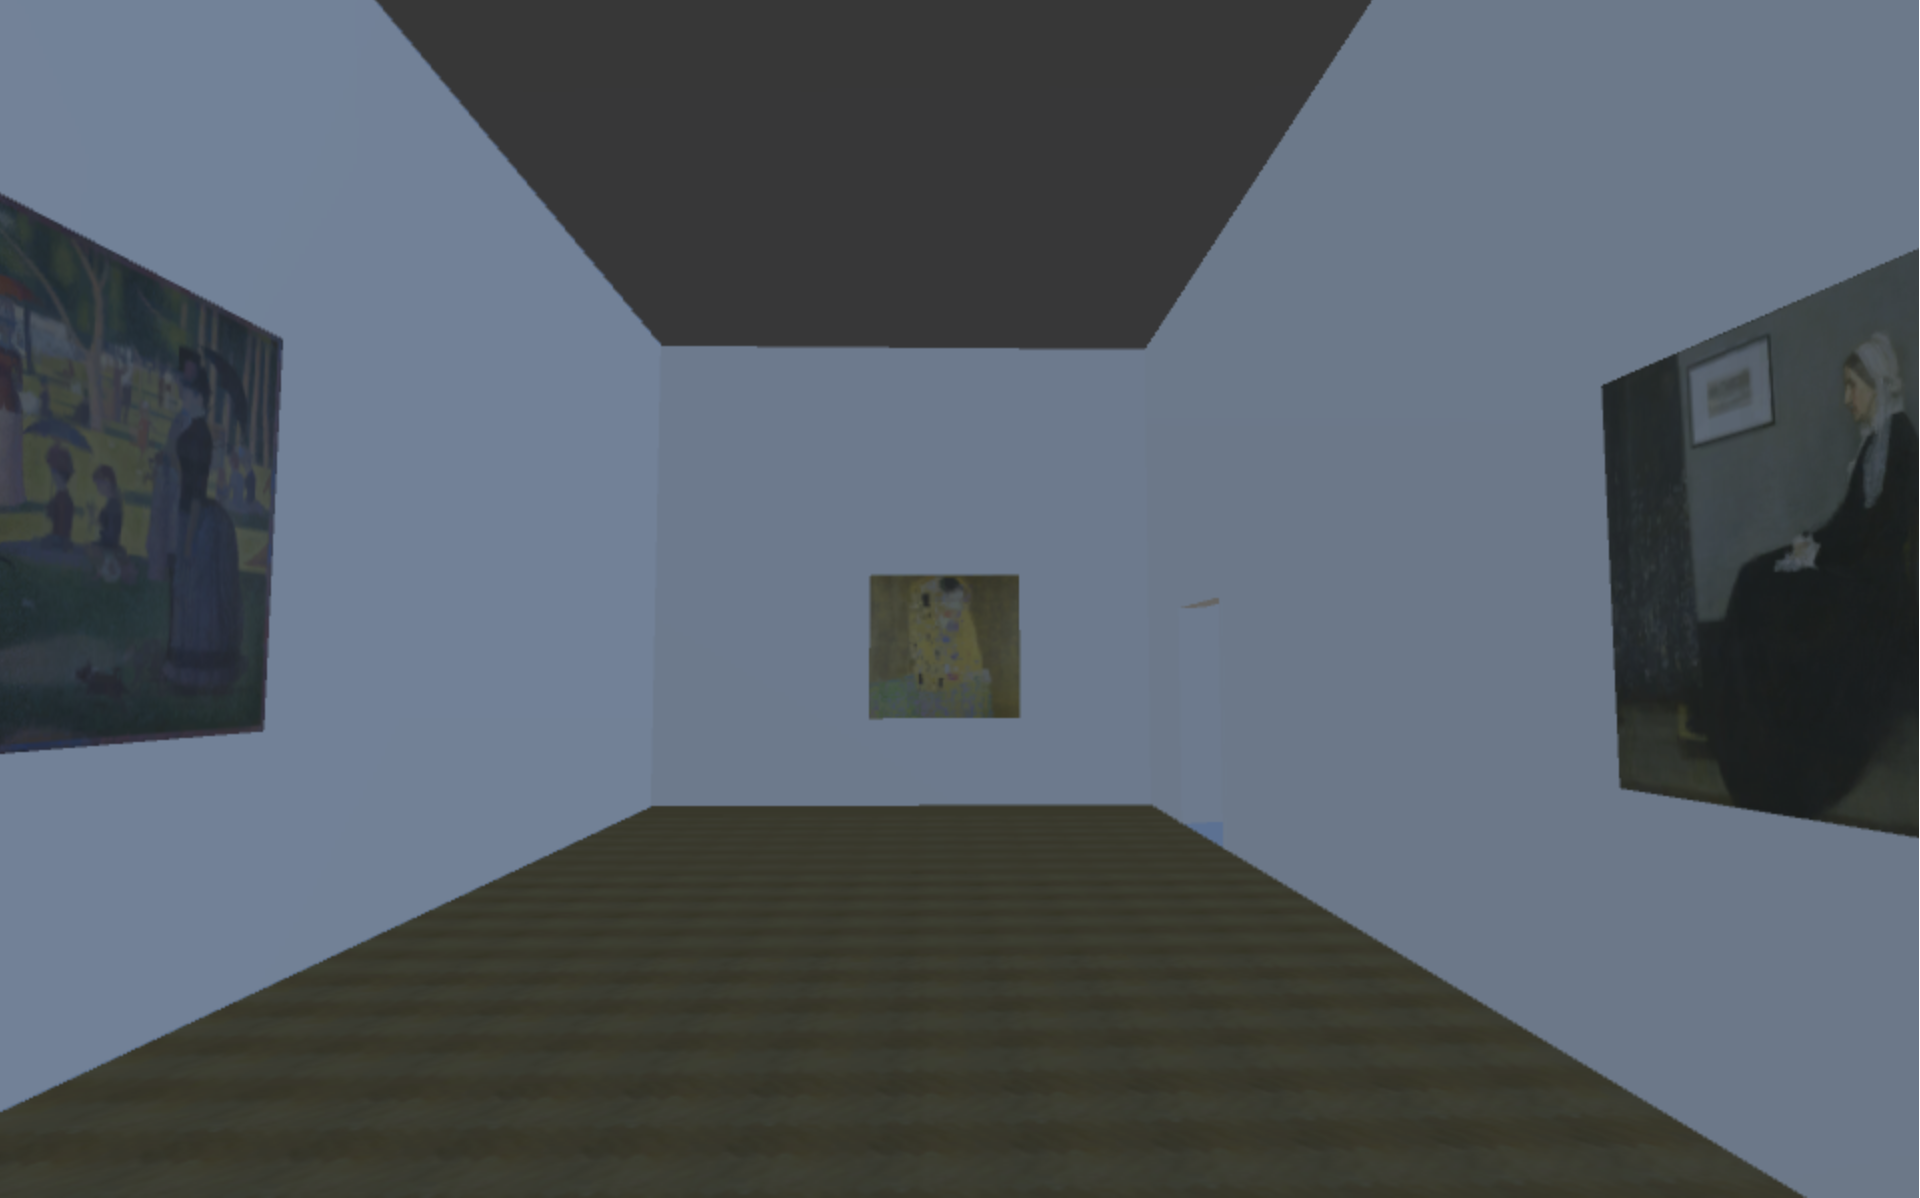
Switch to the FPS view with 3D View > Virtual Visit. This will add the visitor to the plan view, where you can place it. Look around your museum in the 3D view.
When your museum is ready, export it with 3D View > Export to OBJ format.
3.2 Create the Virtual Museum App
Start Unity 3D and create a new 3D project.
Under Assets, get the Standard Assets from Unity Technologies.
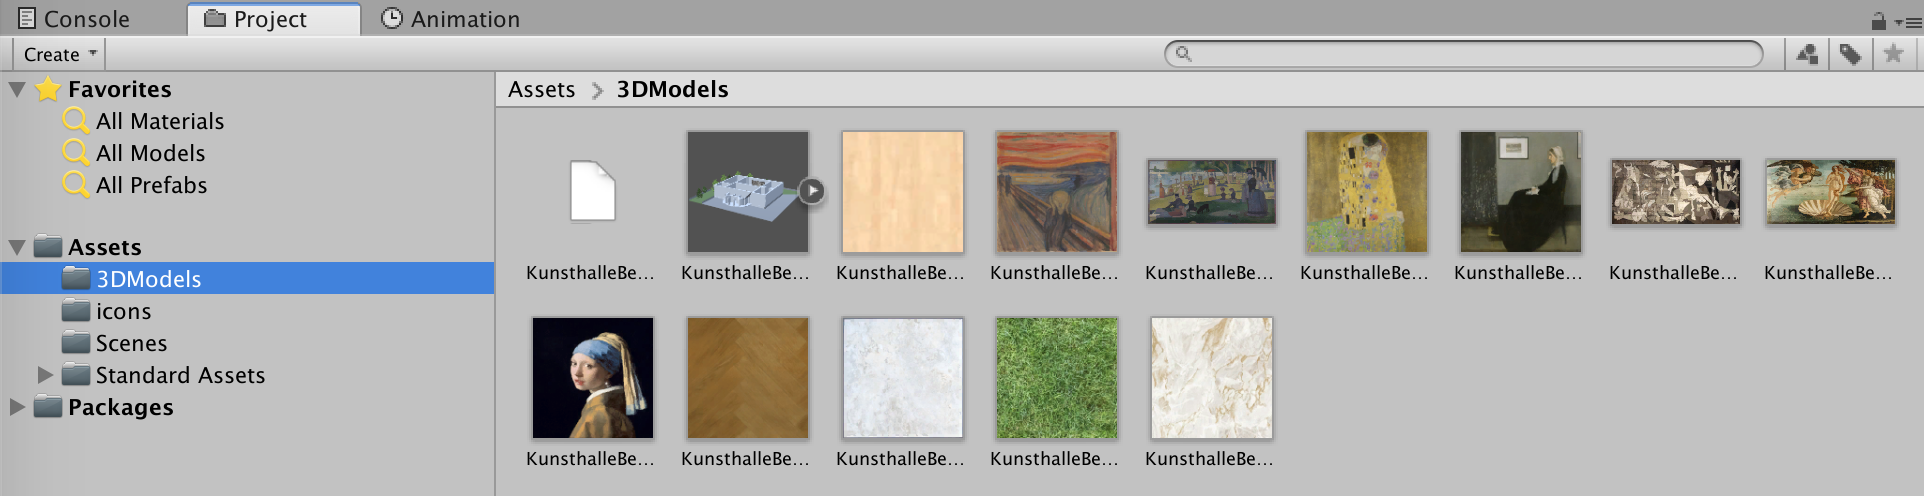
Under Project, create a new folder named 3DModels.
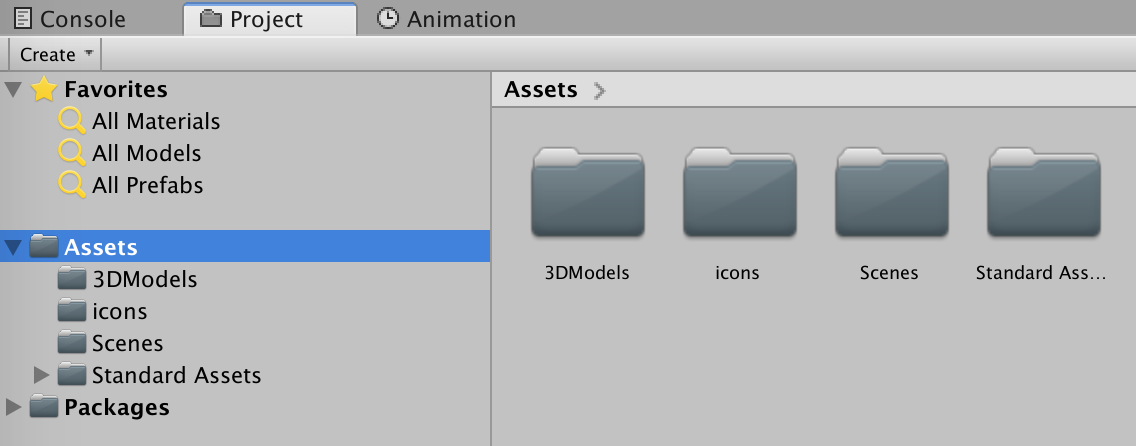
Copy all the files (3D model, textures, etc.) created by the export into this folder.
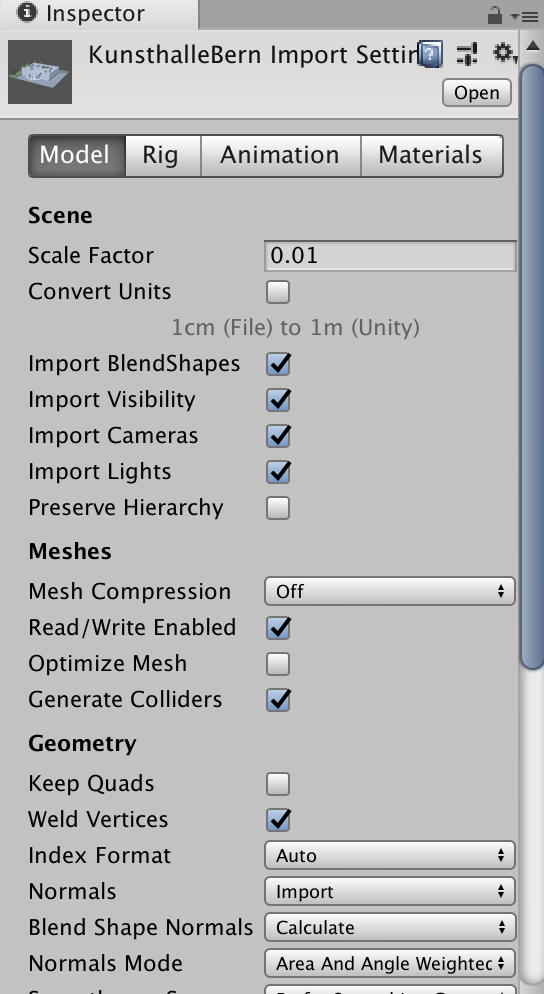
Double-click the 3D model. In the Inspector:
- Under Model > Scene, change the Scale Factor (for some strange reason, the Convert Units doesn’t work). In Sweet Home 3D, we worked in centimeters; in Unity with meters.
- Under Model > Meshes, uncheck Optimize Mesh. If this remains checked, it may happen that the building’s inside gets blurry.
- Under Model > Meshes, check Generate Colliders. If this remains unchecked, you may run through the walls…
- Scroll all the way down and click the Apply button.
Add the 3D model to the Hierarchy.
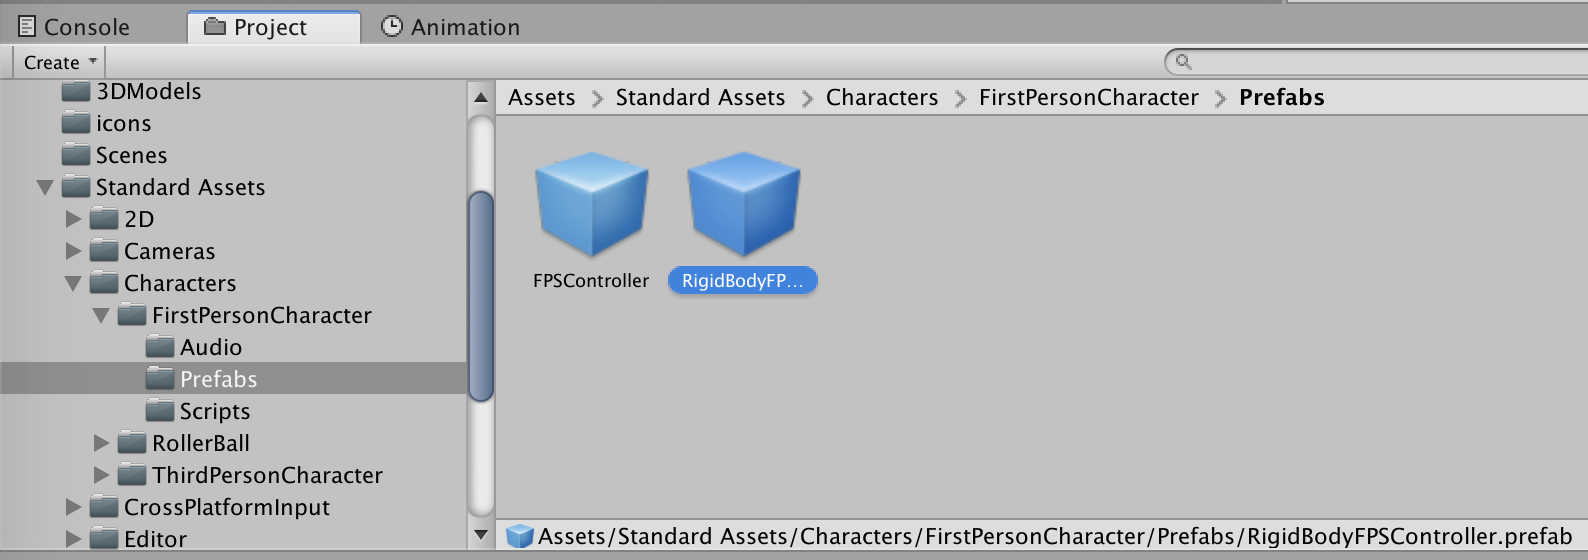
Under Project, find RigidBodyFPSController and add it to the Hierarchy.
Set the original location of the FPS GameObject in the 3D museum.
Change the movement speed if needed.

Hit Play to test everything.
Create the app and/or the WebGL builds.
3.3 Create a UI menu
3.3.1 Get the basics
Create a new scene named Intro.
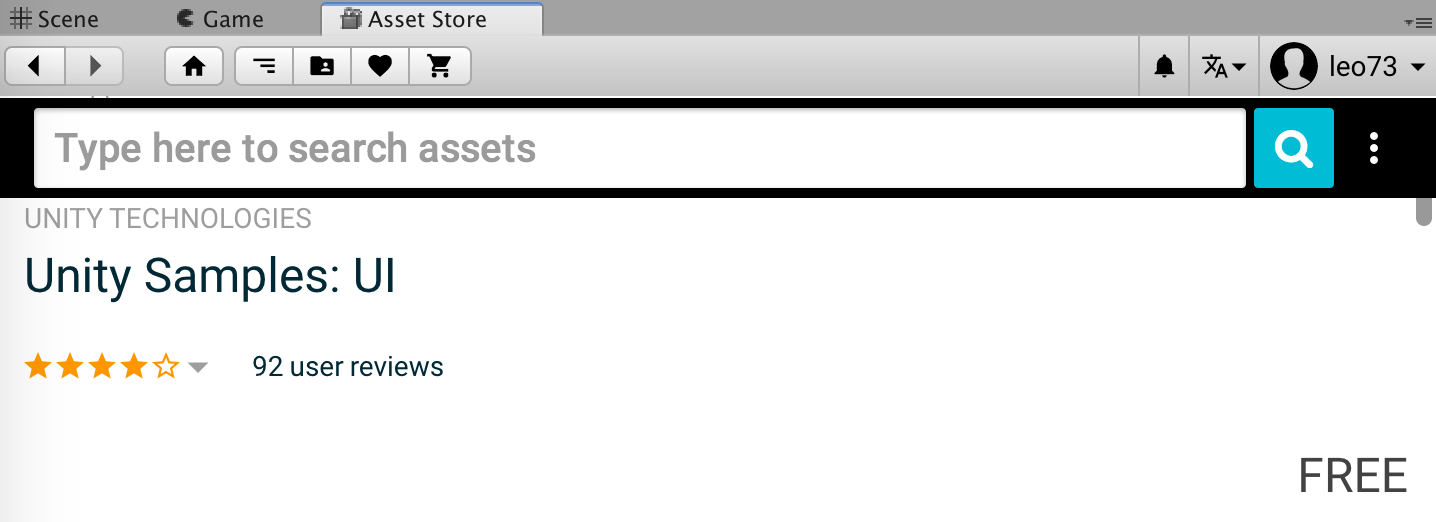
In Asset Store, get the “Unity Samples: UI”.
3.3.2 Create the menu
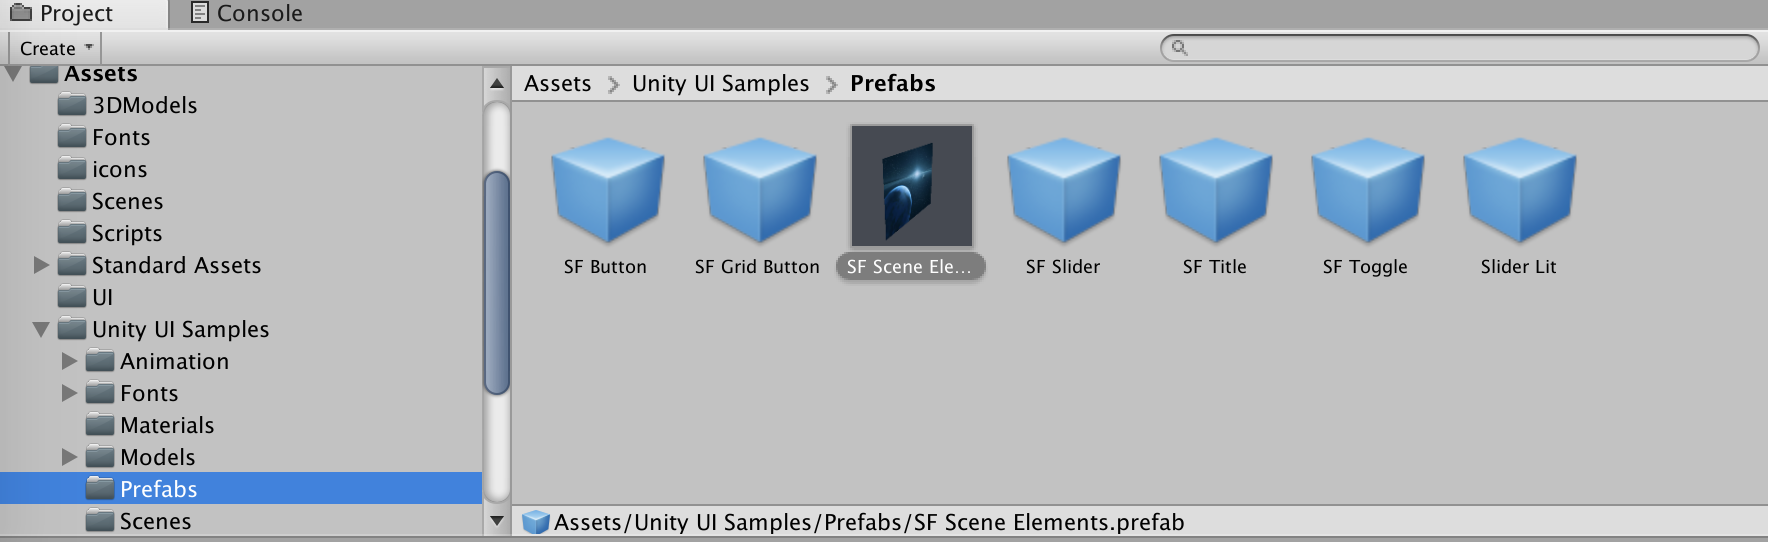
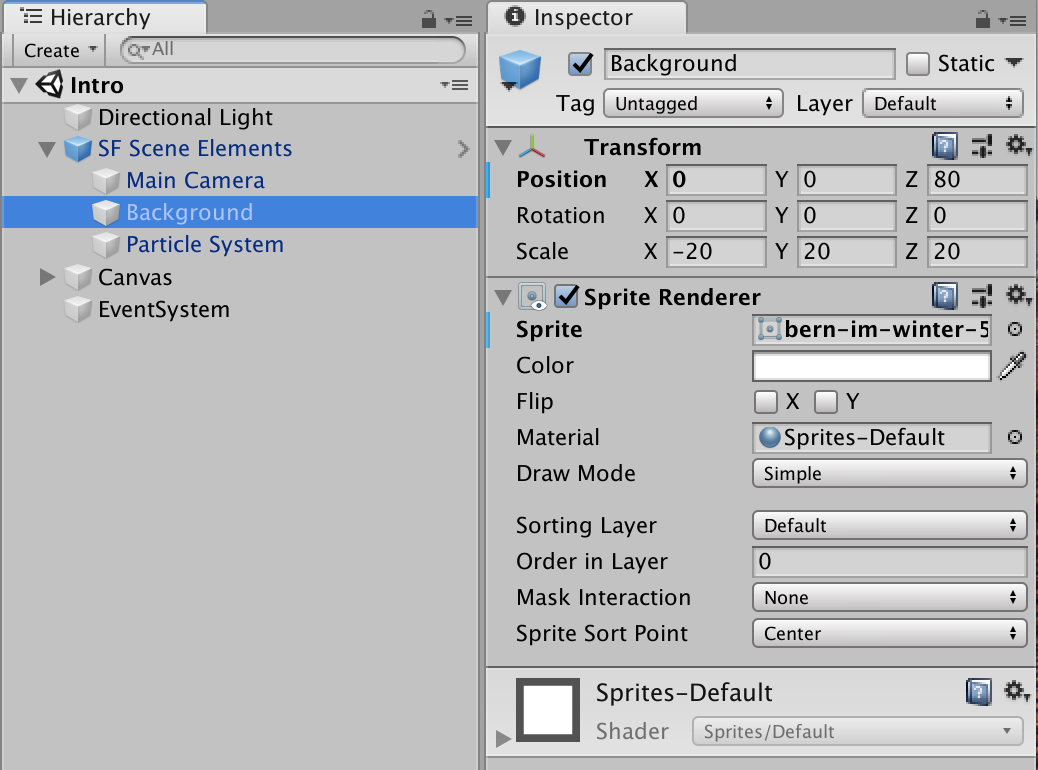
Add the “SF Scene Elements” prefab to your scene.
The background image can be changed under Inspector > Sprite Renderer > Sprite.
Create a new script ShowCursorAtBegin. We will use this to be sure to have the cursor shown (mainly useful when coming back from the VirtualMuseum scene in WebGL mode).
Add this code:
using System.Collections;
using System.Collections.Generic;
using UnityEngine;
public class ShowCursorAtBegin : MonoBehaviour
{
// Start is called before the first frame update
void Start()
{
//Set Cursor to not be visible
Cursor.visible = true;
}
// Update is called once per frame
void Update()
{
}
}
Create a new Canvas object and add the previous script.
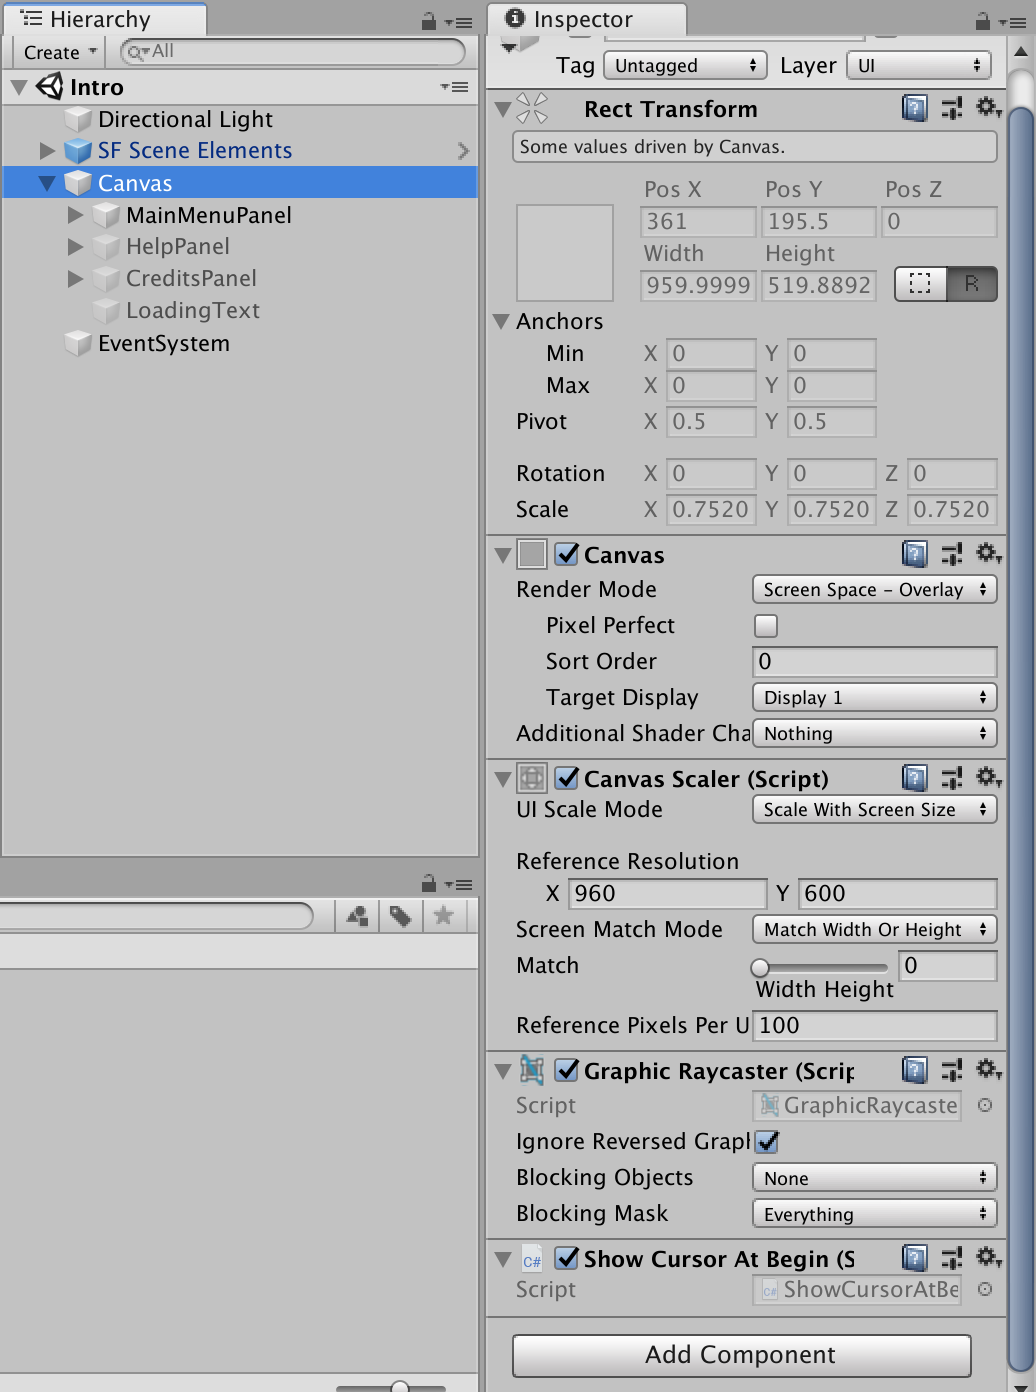
Create a new script SelectOnInput. We will use this script to allow navigation through the menu with keyboards and game controllers. Add the following code:
using System.Collections;
using System.Collections.Generic;
using UnityEngine;
using UnityEngine.EventSystems;
public class SelectOnInput : MonoBehaviour
{
public EventSystem eventSystem;
public GameObject selectedObject;
private bool buttonSelected;
// Start is called before the first frame update
void Start()
{
}
// Update is called once per frame
void Update()
{
if (Input.GetAxisRaw("Vertical") != 0 && buttonSelected == false)
{
eventSystem.SetSelectedGameObject(selectedObject);
buttonSelected = true;
}
}
private void OnDisable()
{
buttonSelected = false;
}
}
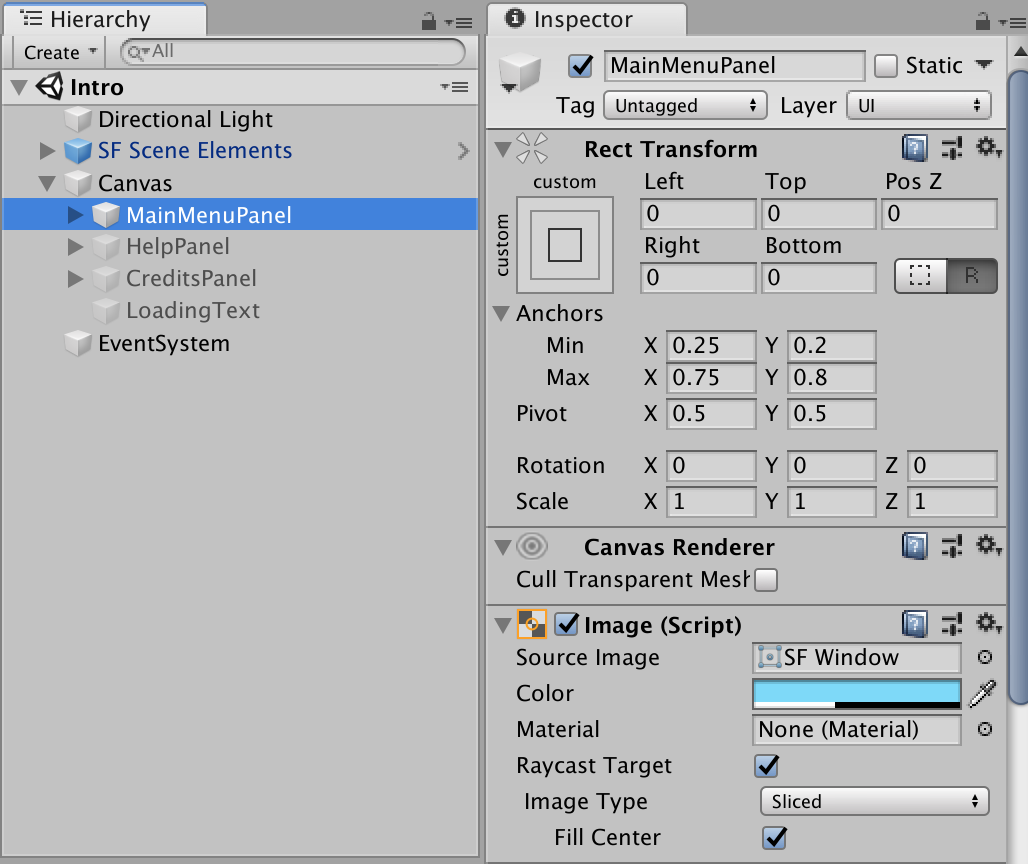
Add a new Panel MainMenuPanel to the Canvas.
Create a new text Text.
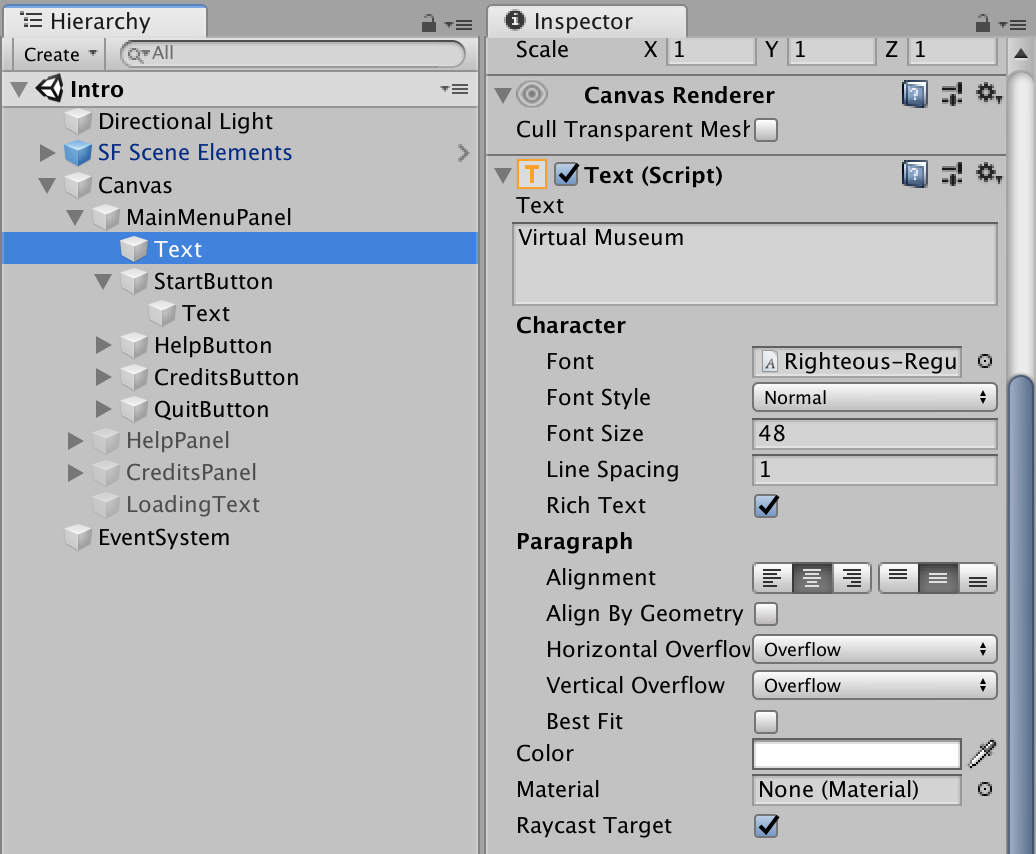
Create a new button StartButton.
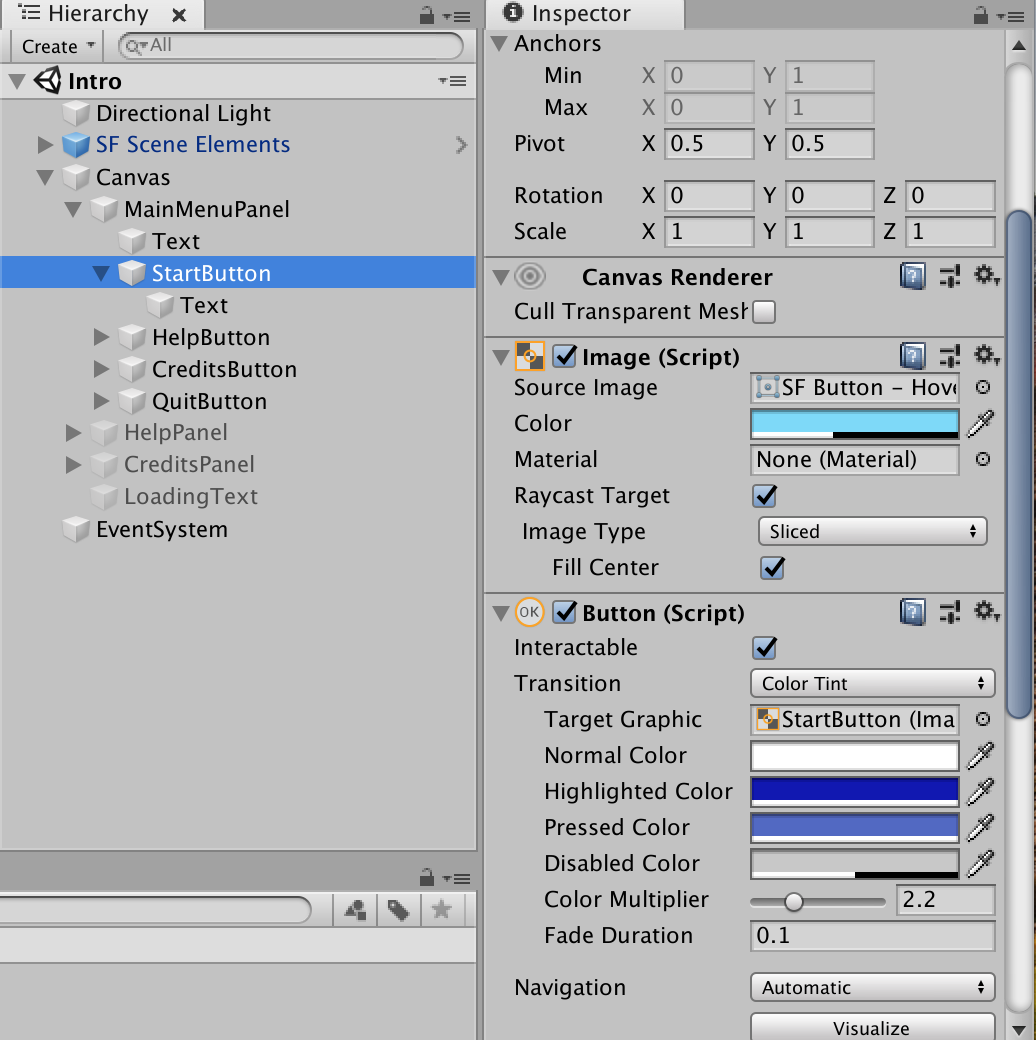
Change the StartButton’s text to Start.

Duplicate the StartButton to HelpButton, CreditsButton and QuitButton.
Add the SelectOnInput script to the MainMenuPanel:
- add the EventSystem under Event System.
- add the StartButton under Selected Object.
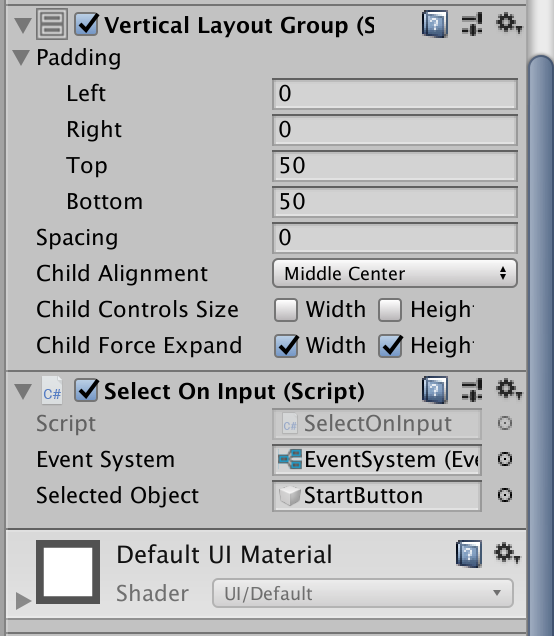
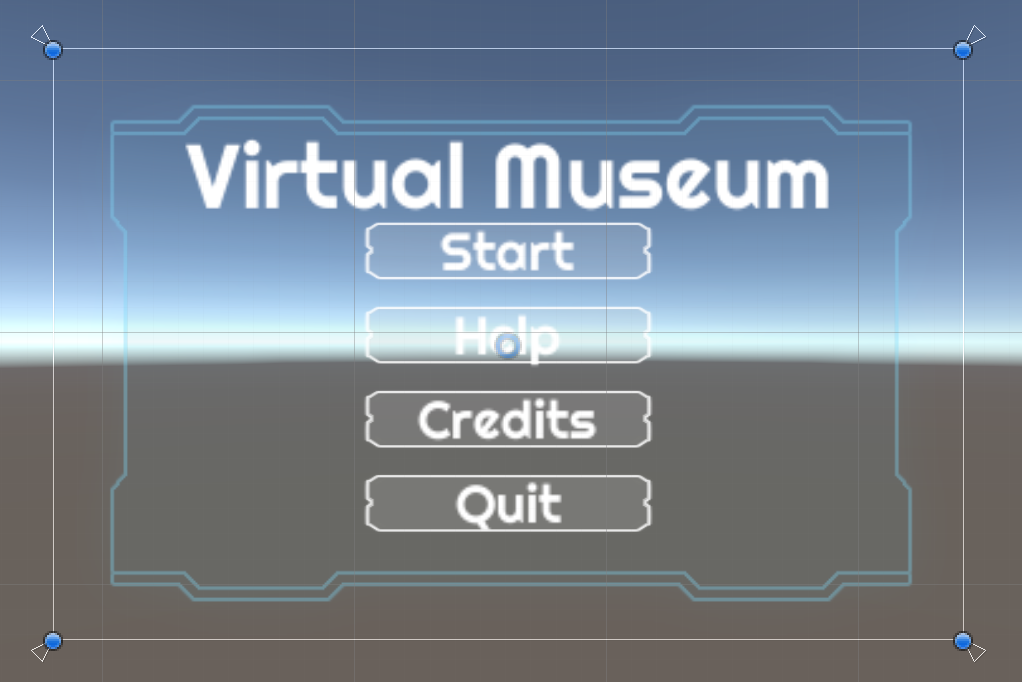
The MainMenuPanel should look like this:
Duplicate the MainMenuPanel to HelpPanel and CreditsPanel.
The HelpPanel looks like that:
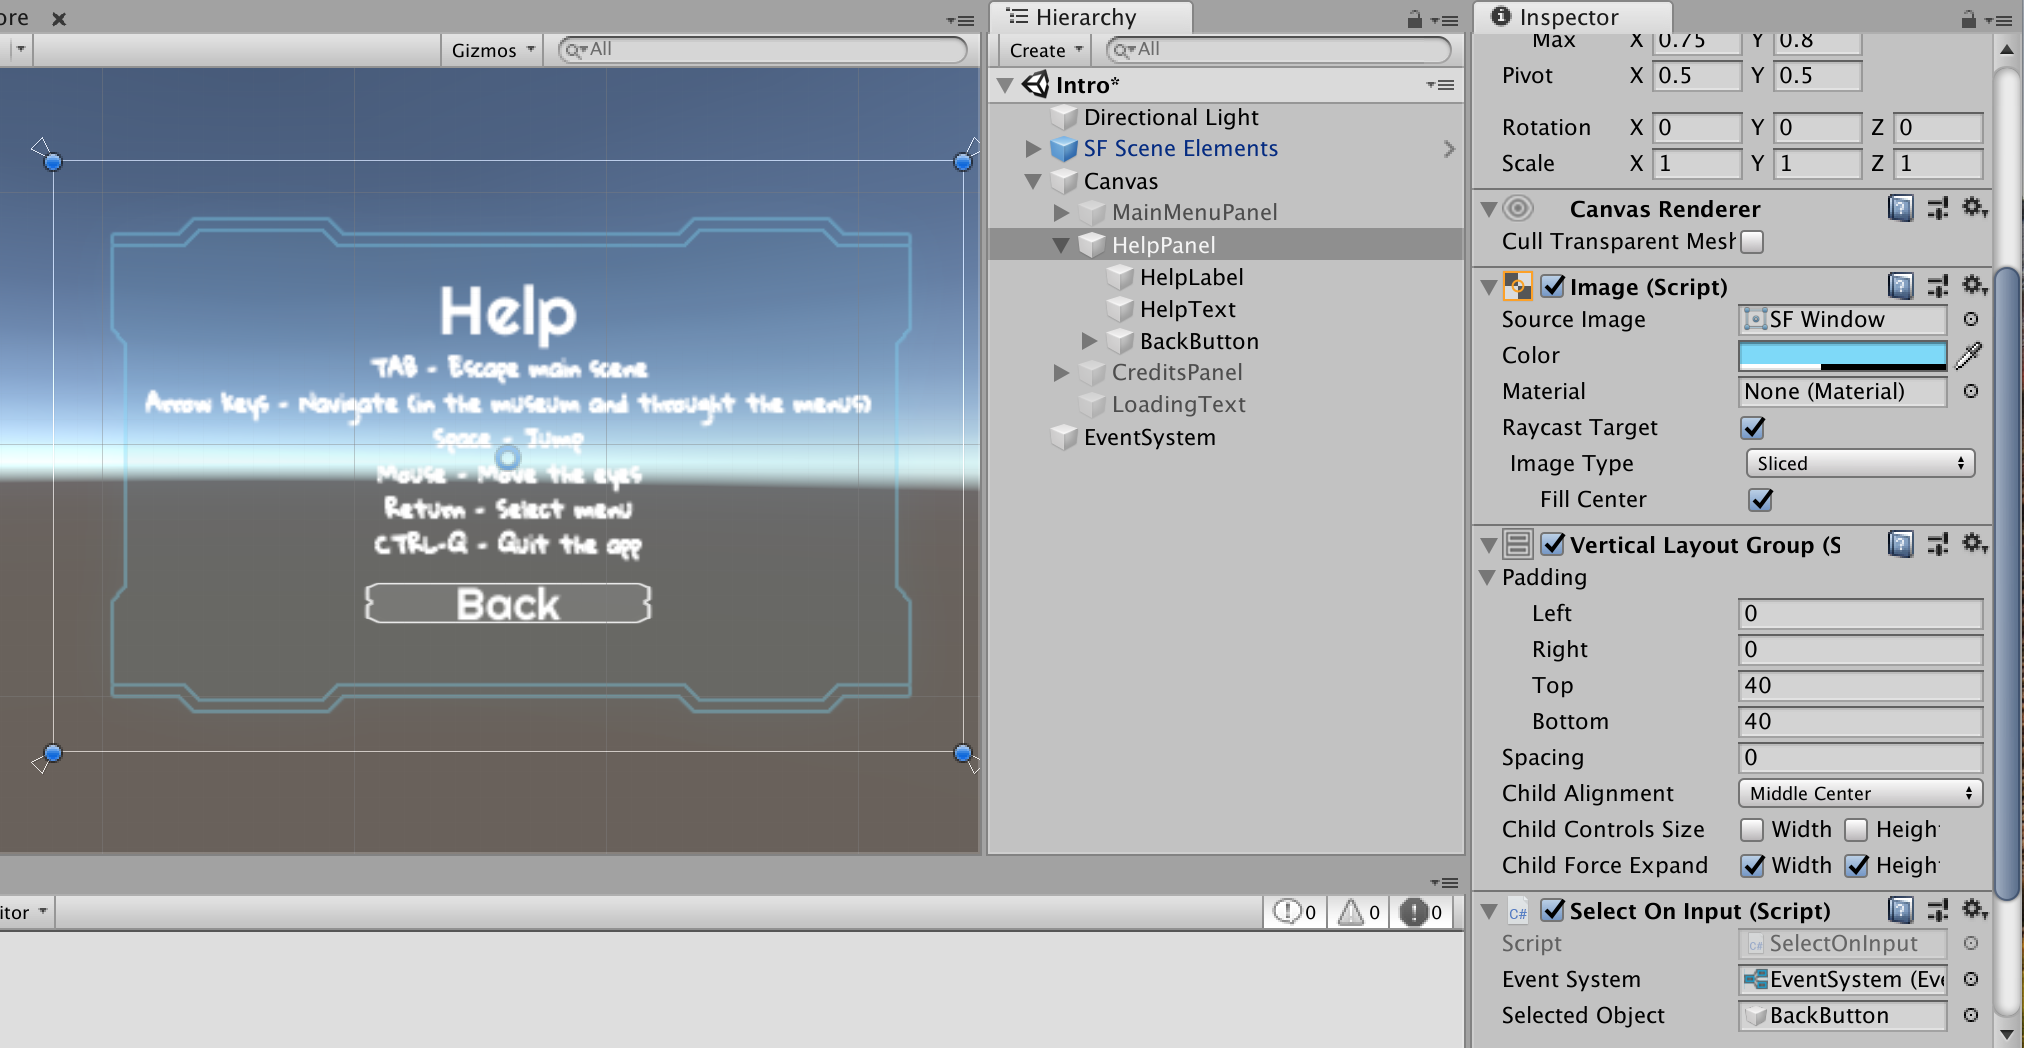
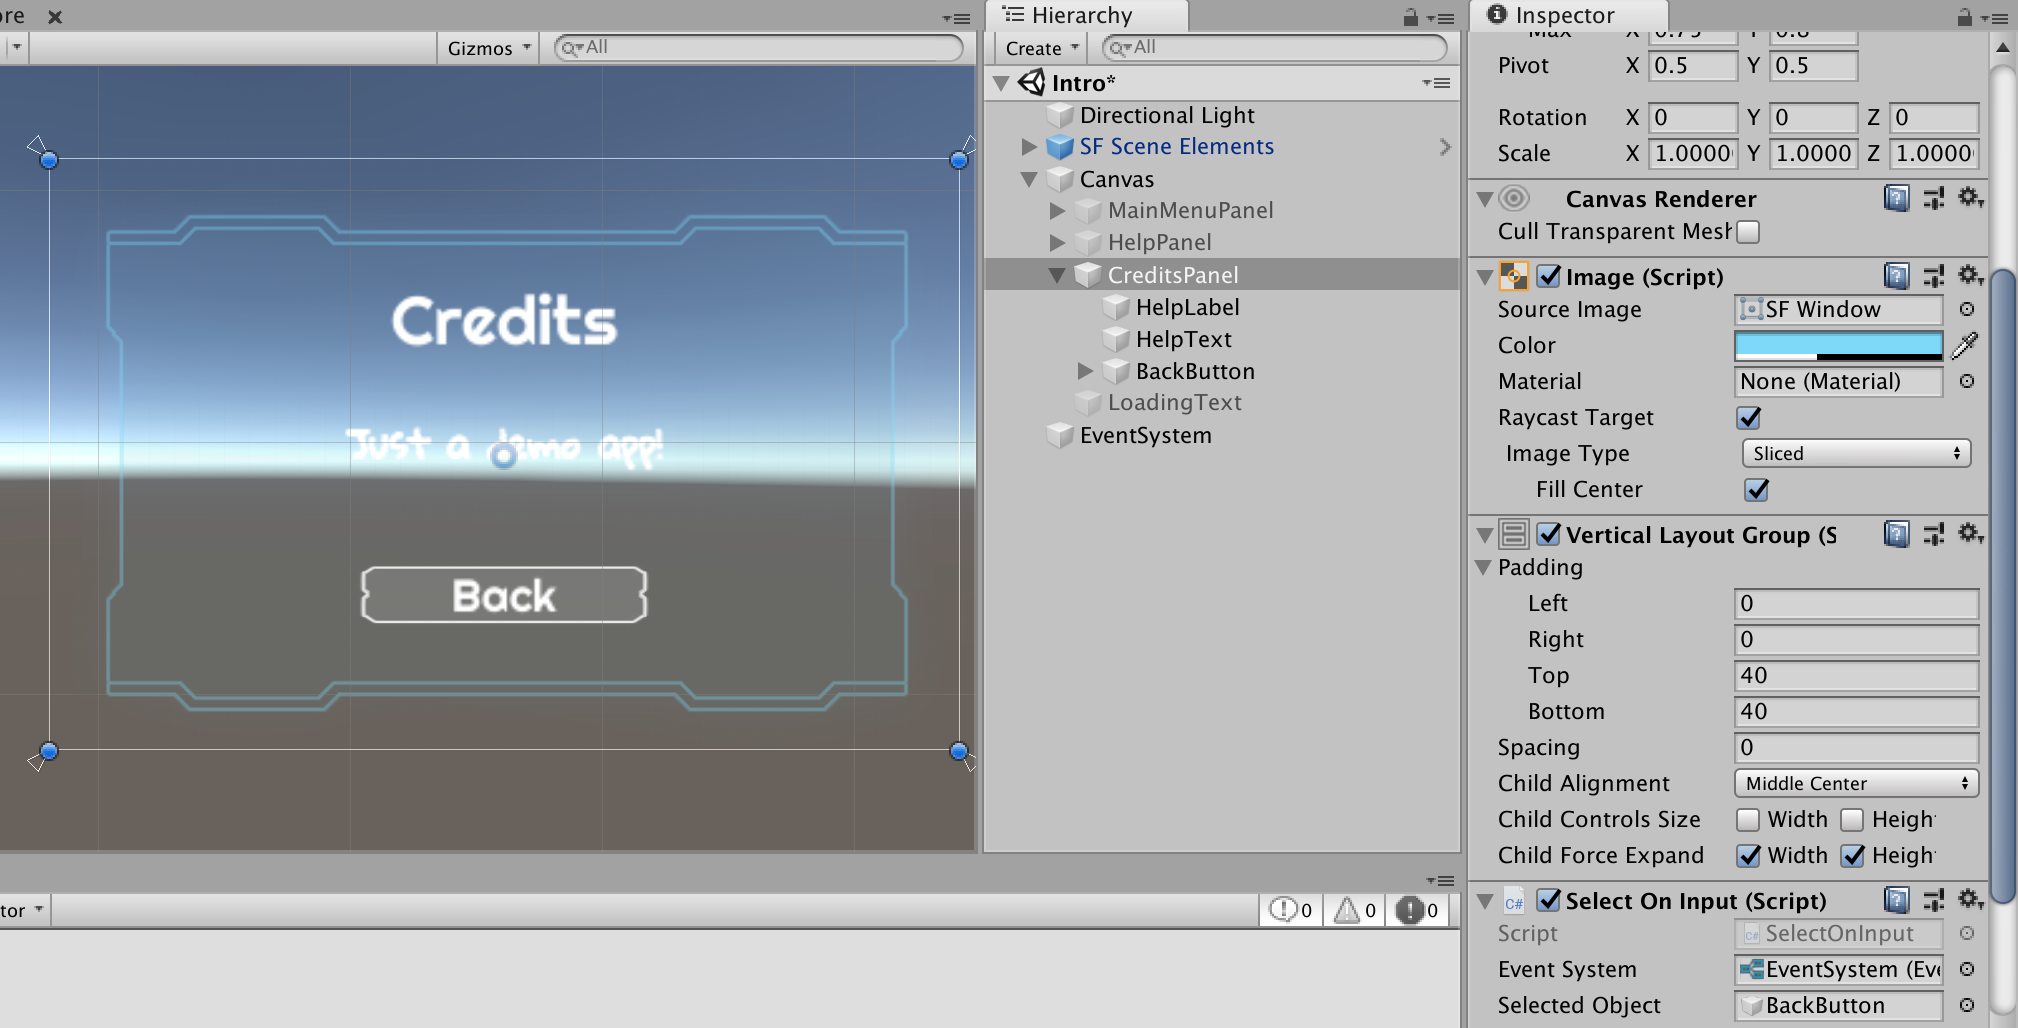
And the CreditsPanel like this:
Make the MainMenuPanel active and the HelpPanel and CreditsPanel inactive. We want to have the MainMenuPanel active at startup and see the other stuff only when needed.
3.3.3 Link everything
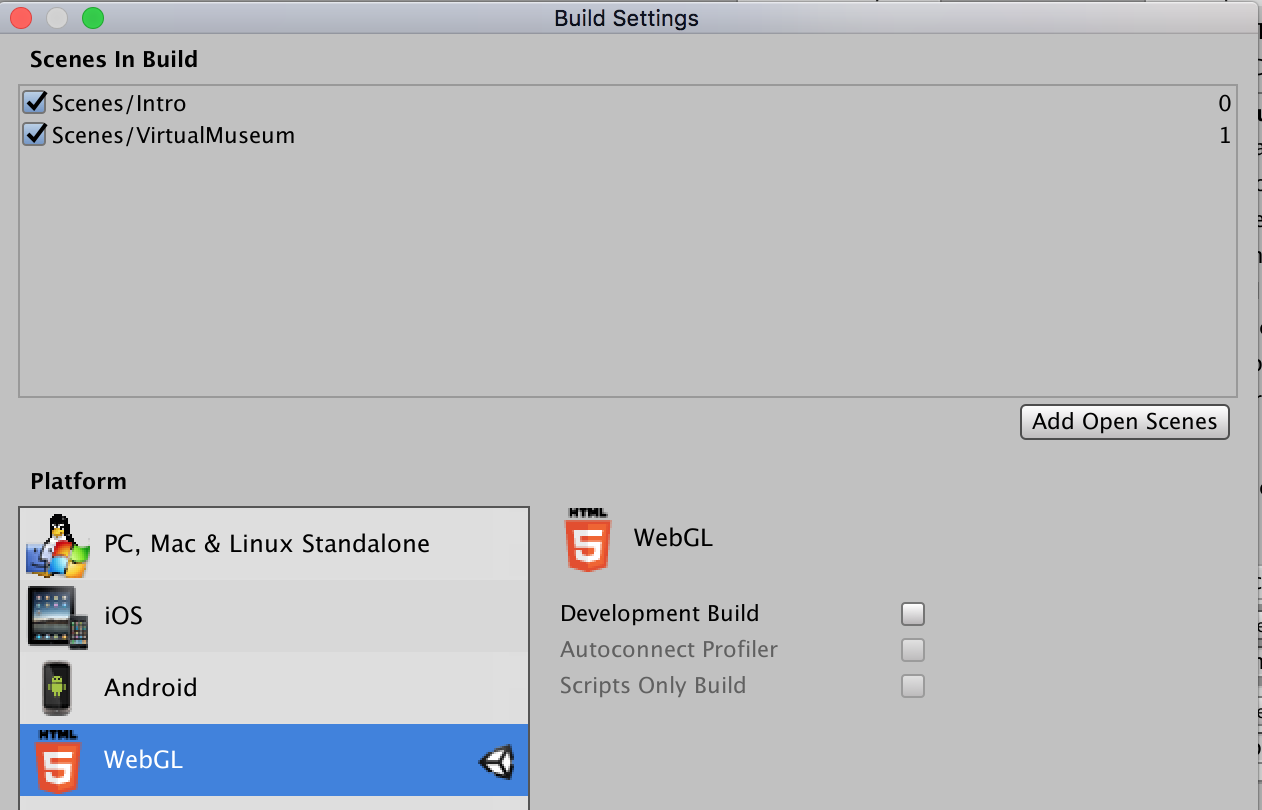
In the Build Settings, check that all scenes were added. Reorder the scenes to have the Intro scene at position 0.
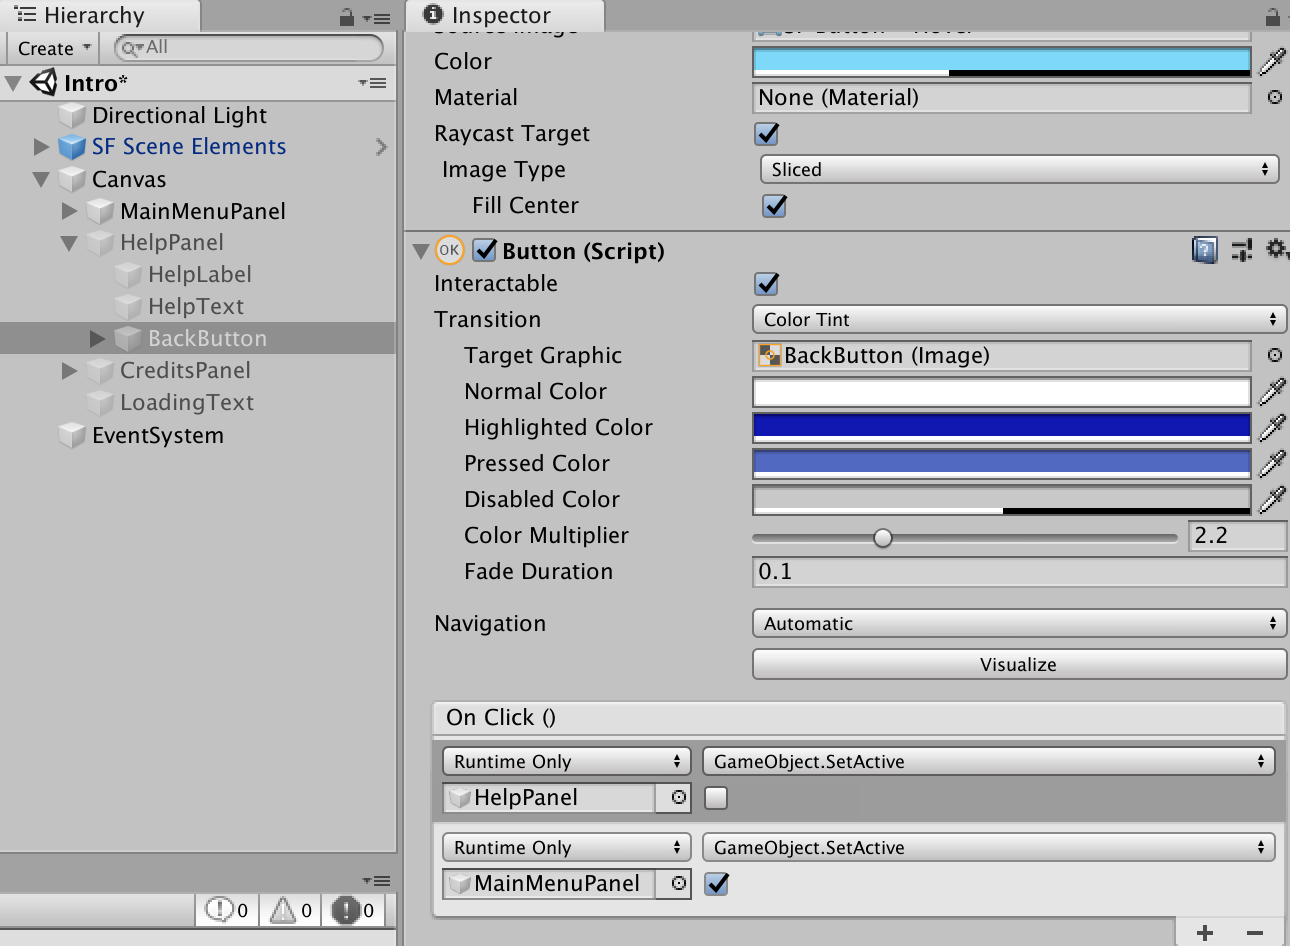
Configure the On Click in HelpPanel’s BackButton as shown below (when click, we hide the HelpPanel and show the MainMenuPanel).
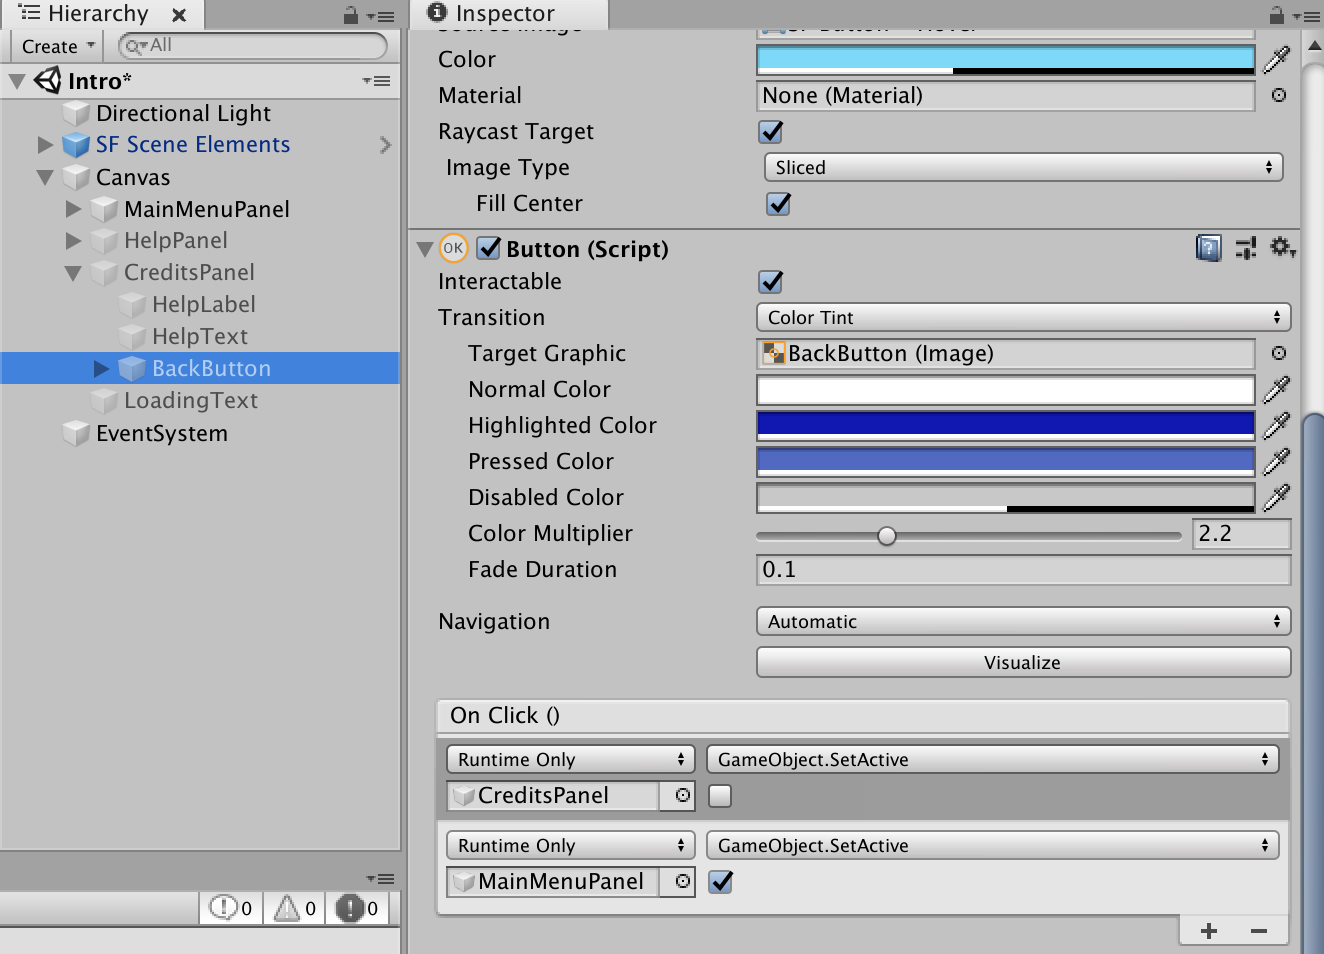
Configure the On Click in CreditsPanel’s BackButton as shown below (when click, we hide the CreditsPanel and show the MainMenuPanel).
Add a new text LoadingText to the canvas. Set it inactive.
Create a new script LoadSceneOnClick. This will allow us to load the really big VirtualMuseum scene a bit differently as normal. Add the code below. Please note that the Async part only works correctly if the app is compiled with a Unity Pro version; if you use the free version, the async is more or less ignored.
using System.Collections;
using System.Collections.Generic;
using UnityEngine;
using UnityEngine.SceneManagement;
using UnityEngine.UI;
public class LoadSceneOnClick : MonoBehaviour
{
private bool loadScene = false;
public Text loadingText;
public int SceneIndex;
void Update()
{
// If the new scene has started loading...
if (loadScene == true)
{
// ...then pulse the transparency of the loading text to let the player know that the computer is still working.
loadingText.color = new Color(loadingText.color.r, loadingText.color.g, loadingText.color.b, Random.Range(0.0f, 1.0f));
}
}
public void LoadByIndex()
{
//SceneManager.LoadScene(SceneIndex);
// ...set the loadScene boolean to true to prevent loading a new scene more than once...
loadScene = true;
// ...change the instruction text to read "Loading..."
loadingText.gameObject.SetActive(true);
loadingText.text = "Loading...\r\nTakes up to 45 seconds!";
// ...and start a coroutine that will load the desired scene.
StartCoroutine(LoadNewScene());
}
// The coroutine runs on its own at the same time as Update() and takes an integer indicating which scene to load.
IEnumerator LoadNewScene()
{
// This line waits for 3 seconds before executing the next line in the coroutine.
// This line is only necessary for this demo. The scenes are so simple that they load too fast to read the "Loading..." text.
//yield return new WaitForSeconds(3);
// Start an asynchronous operation to load the scene that was passed to the LoadNewScene coroutine.
AsyncOperation async = SceneManager.LoadSceneAsync(SceneIndex);
// While the asynchronous operation to load the new scene is not yet complete, continue waiting until it's done.
while (!async.isDone)
{
yield return null;
}
}
}
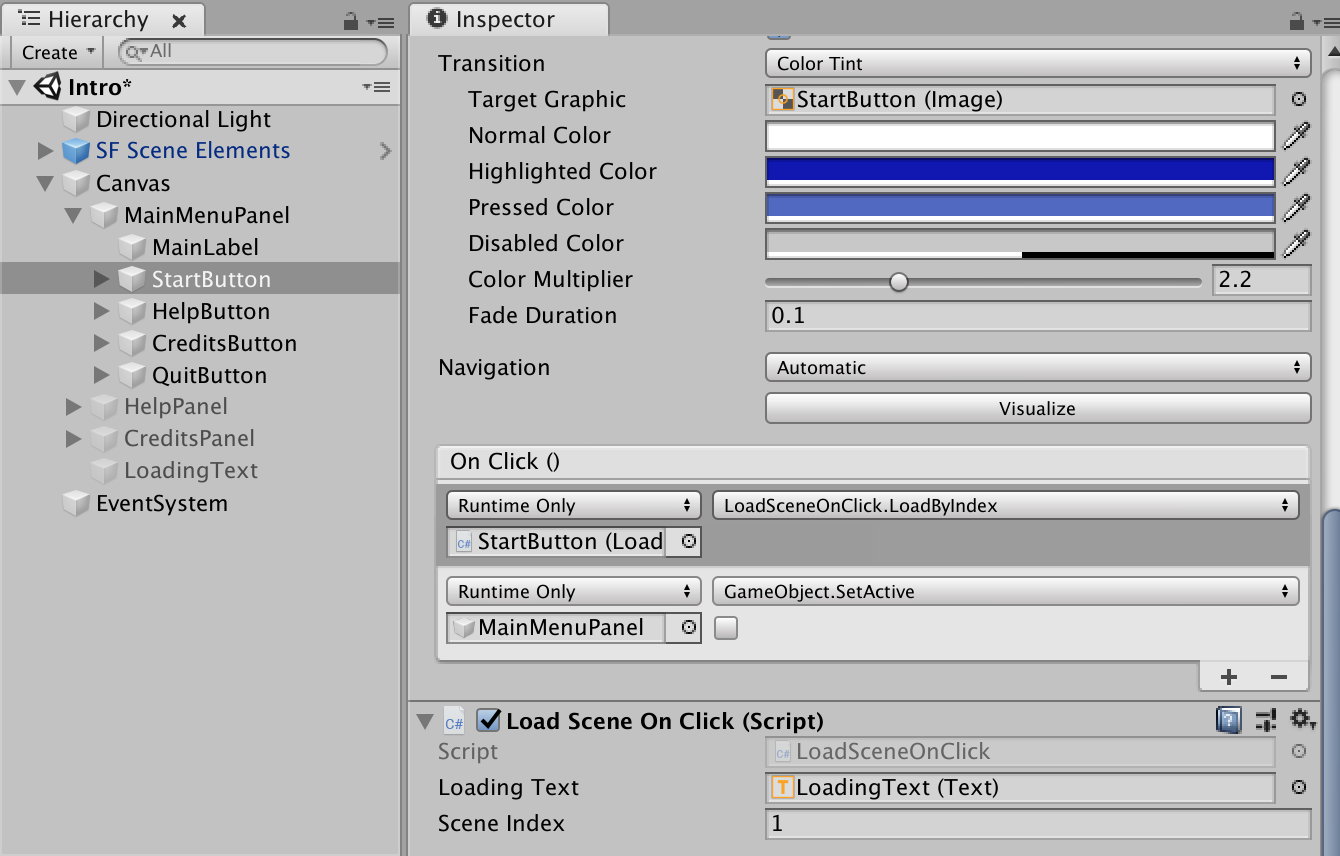
Add the script to the StartButton and configure everything.
For the QuitButton, read the next chapter.
Open the VirtualMuseum scene.
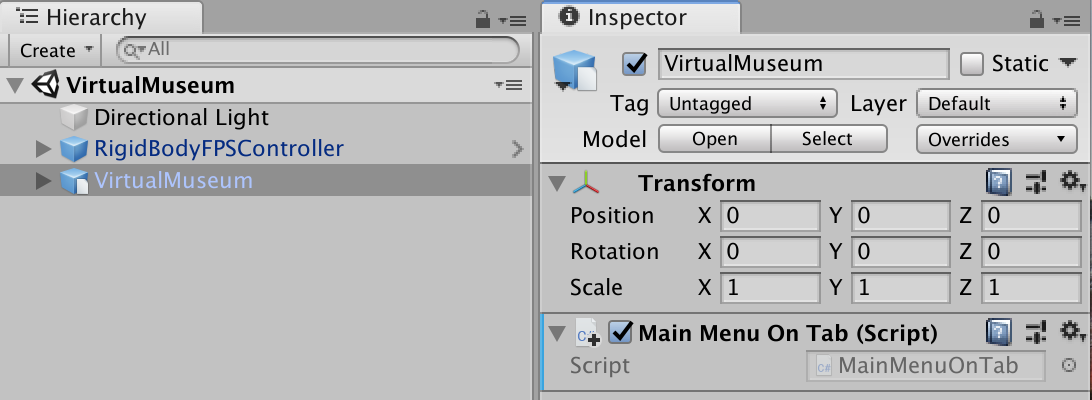
Create a new script MainMenuOnTab. This script will allow the user to hit TAB to get back to the MainMenuPanel.
Add the following code:
using System.Collections;
using System.Collections.Generic;
using UnityEngine;
using UnityEngine.SceneManagement;
public class MainMenuOnTab : MonoBehaviour
{
// Start is called before the first frame update
void Start()
{
}
// Update is called once per frame
void Update()
{
if (Input.GetKeyDown(KeyCode.Tab))
{
//This is used to be sure to unlock the UI cursor when leaving the scene
Cursor.lockState = CursorLockMode.None;
//This loads scene 0. The intro scene is really small, that's why we use another method.
SceneManager.LoadScene(0);
}
}
}
Add the script to a GameObject.
3.3.4 Create a platform dependent command
Create a new script QuitOnClick. This script will:
- stop the runtime, when running in Unity.
- toggle the fullscreen and open an URL, when running as WebGL.
- quit the app, when running on another platform.
Actually, the instruction are used at compilation time.
Add this code:
using System.Collections;
using System.Collections.Generic;
using UnityEngine;
public class QuitOnClick : MonoBehaviour
{
public void OnApplicationQuit()
{
//we want an other behavior depending the runtime environment
//https://docs.unity3d.com/Manual/PlatformDependentCompilation.html
#if UNITY_EDITOR
UnityEditor.EditorApplication.isPlaying = false;
#elif UNITY_WEBGL
if(Screen.fullScreen == true)
{
Screen.fullScreen = !Screen.fullScreen;
}
Application.OpenURL("http://mountainpath.ch/cmsimplexh/index.php?Unity-3D/Create-a-virtual-museum-in-one-day");
#else
Application.Quit();
#endif
}
}
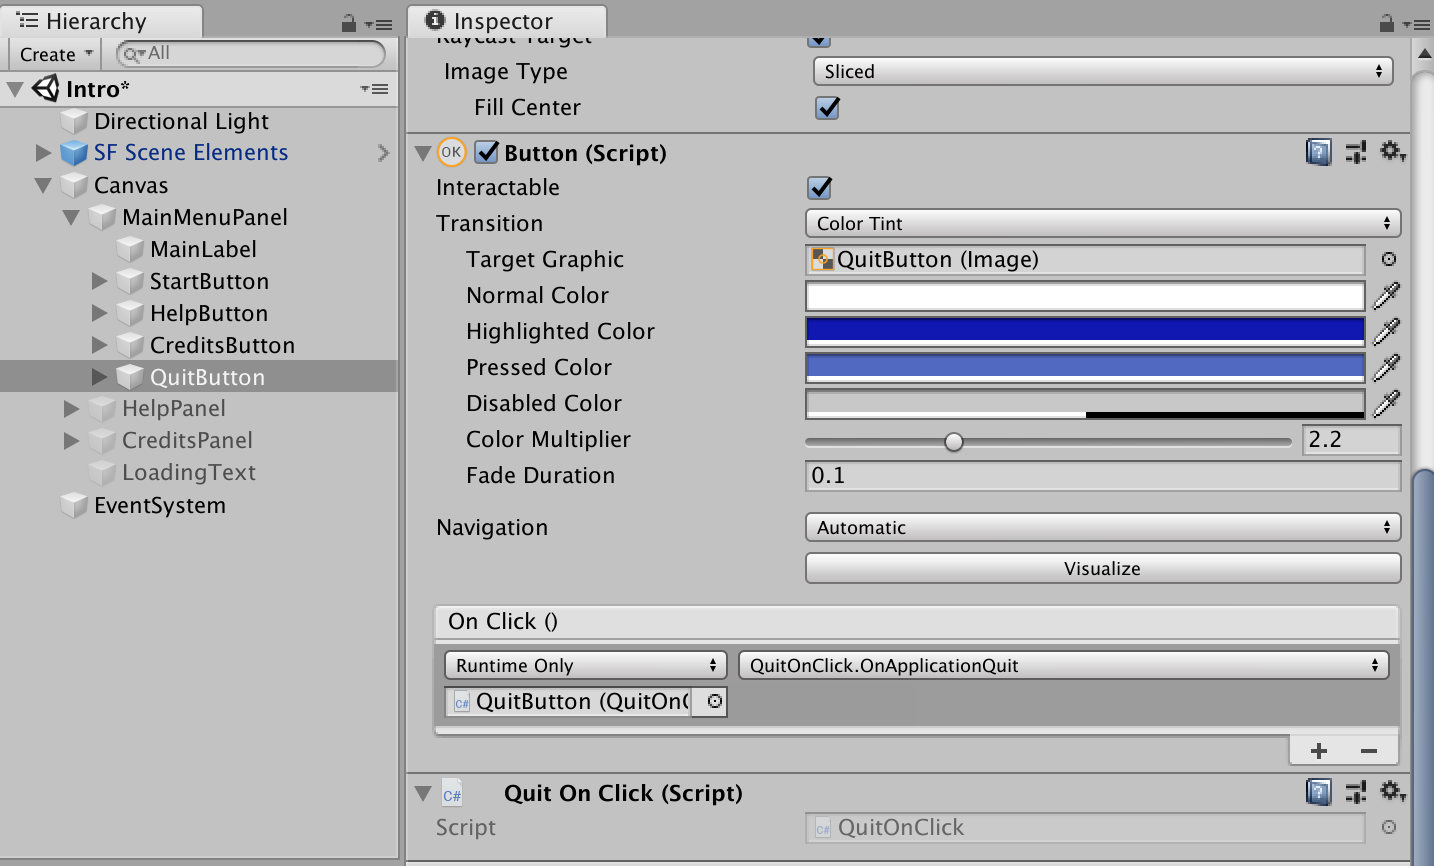
Add the script to the QuitButton and configure everything.


